
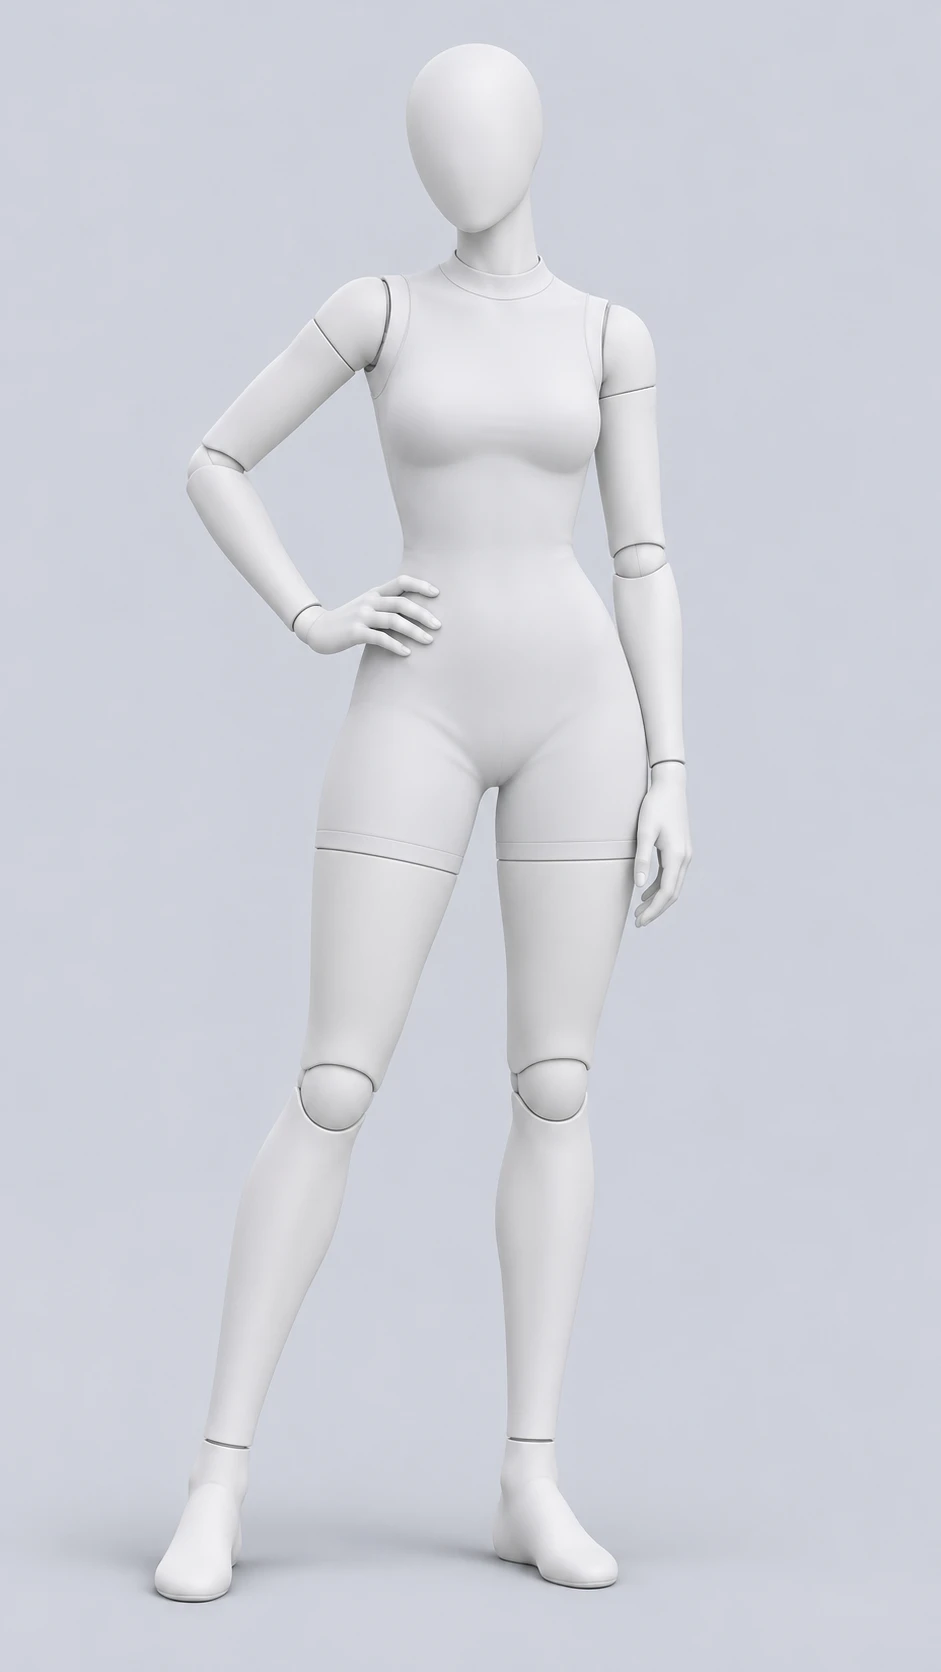
Hand on hip
Women mannequin reference. Compare the shoulder direction, hand placement and available space with your source image.
Start with the shape of a pose. Browse white mannequins and multi-view drawings, compare the body position, and bring a reference into your photo edit.
Explore weight shifts, crossed arms, walking directions and relaxed full-body stances.
Browse standing references ↗Compare chair support, knee direction, hand placement and forward-leaning portraits.
Browse seated references ↗Focus on shoulders, arms and expressive hand gestures within a closer portrait crop.
Browse half-body references ↗These are pose guides, not generated before-and-after results. Open a reference to inspect it, or select “Use this pose” to carry it into the editor. Your existing source image and instructions stay in your draft.
Women mannequin reference. Compare the shoulder direction, hand placement and available space with your source image.
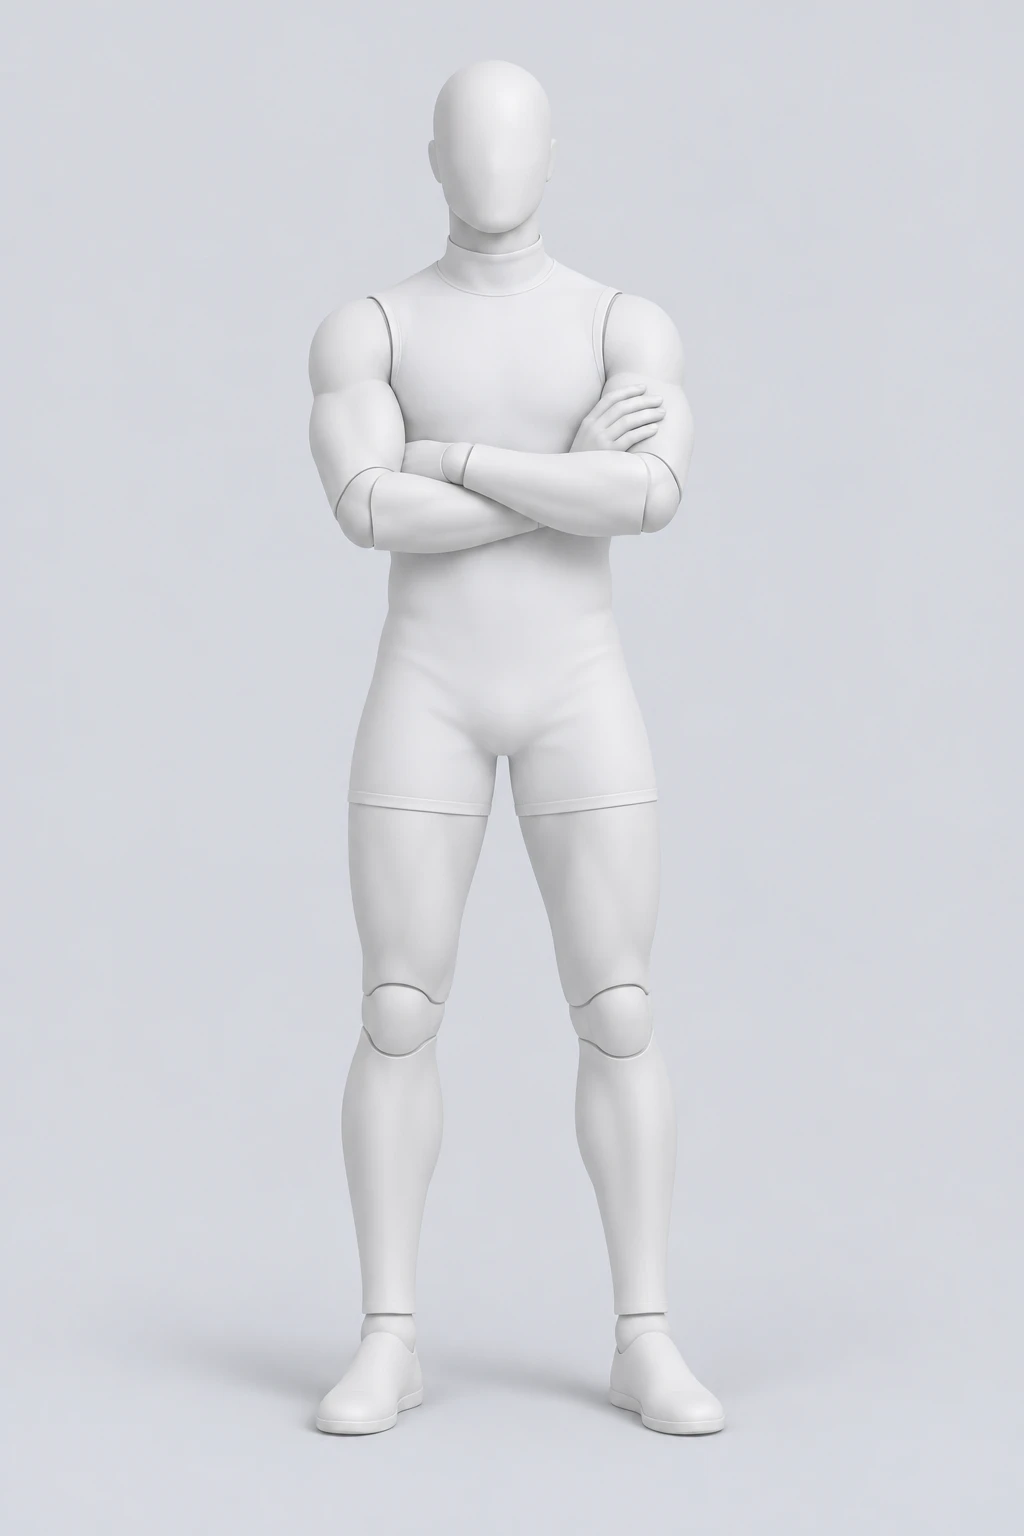
Men mannequin reference. Compare the shoulder direction, hand placement and available space with your source image.
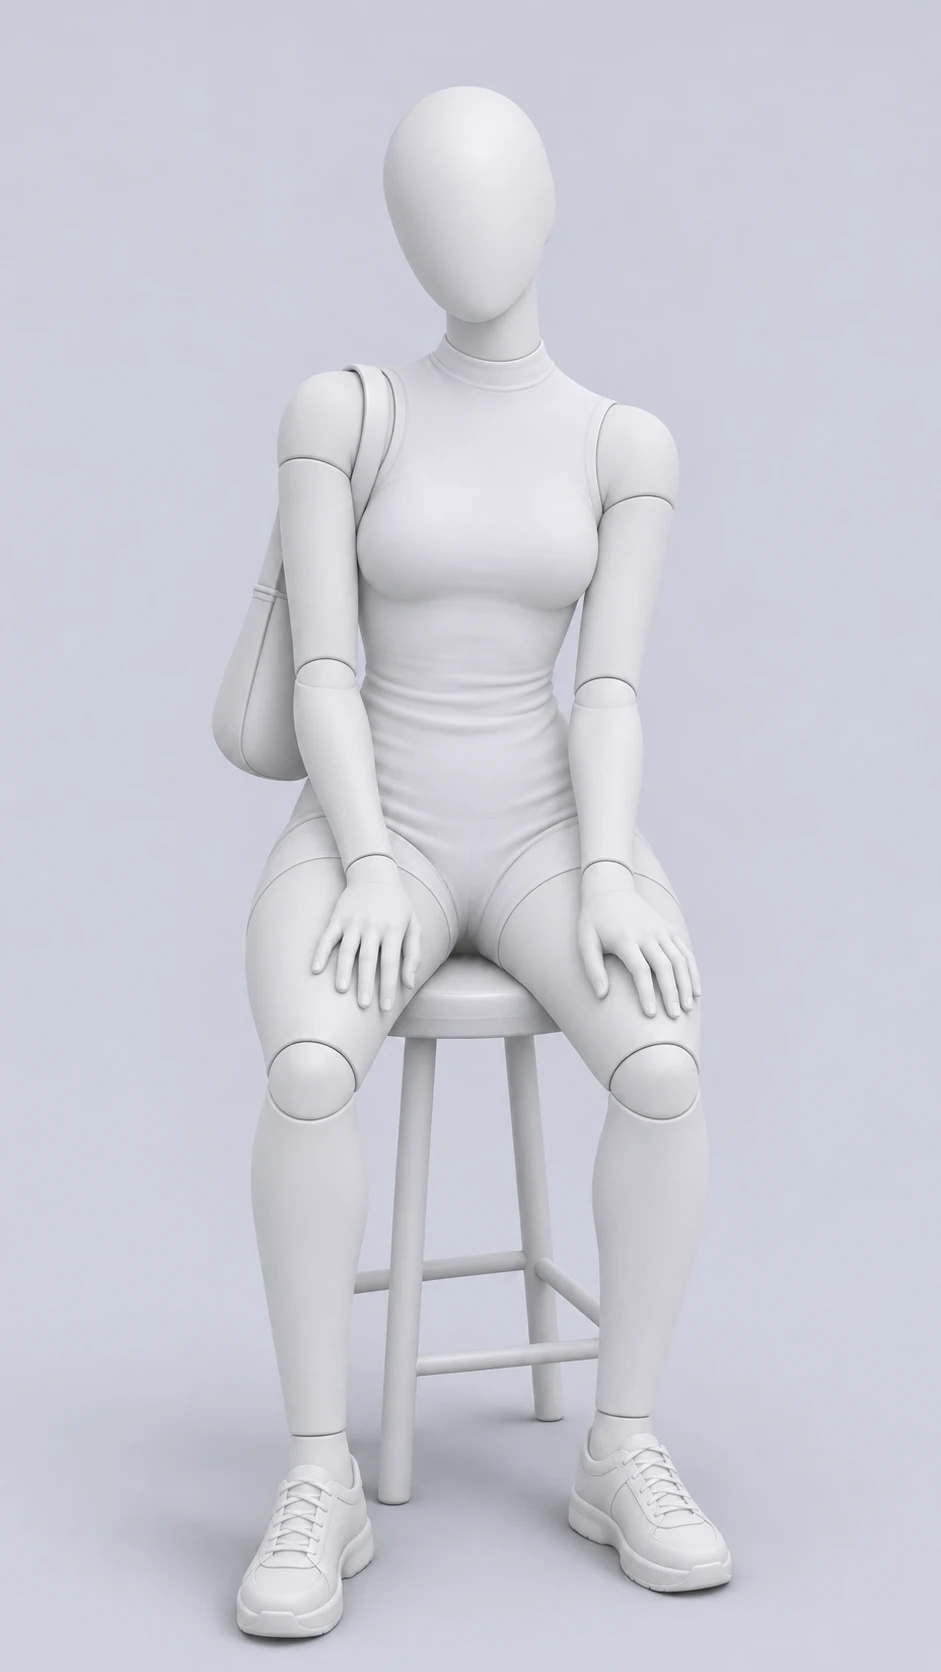
Women mannequin reference. Compare the shoulder direction, hand placement and available space with your source image.
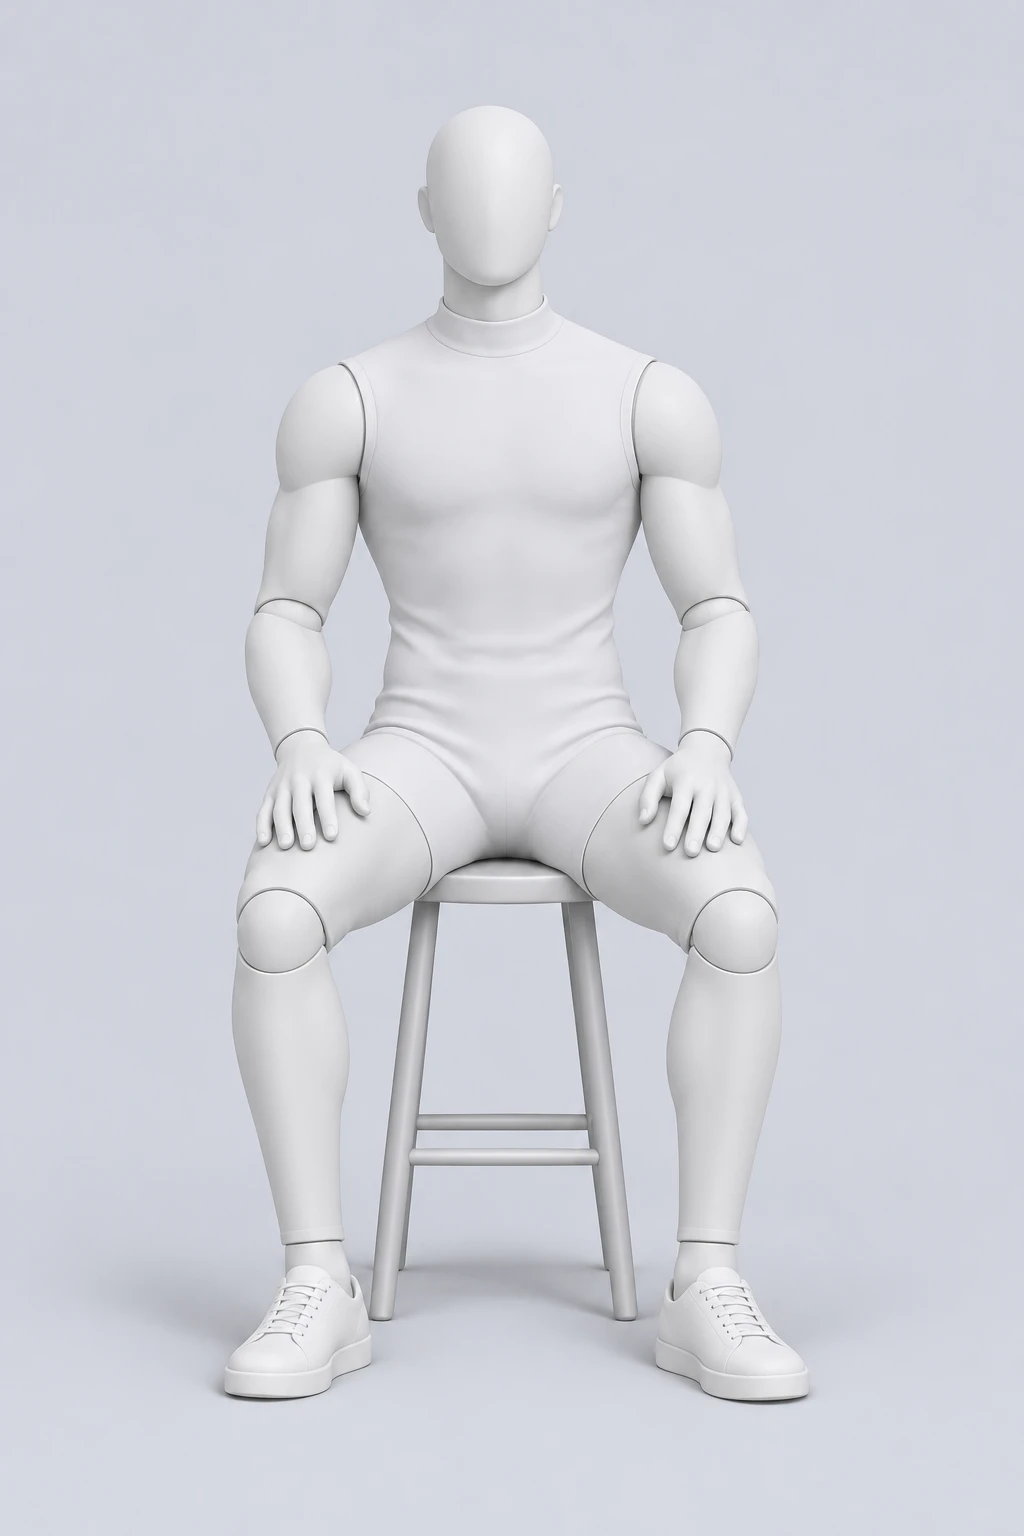
Men mannequin reference. Compare the shoulder direction, hand placement and available space with your source image.
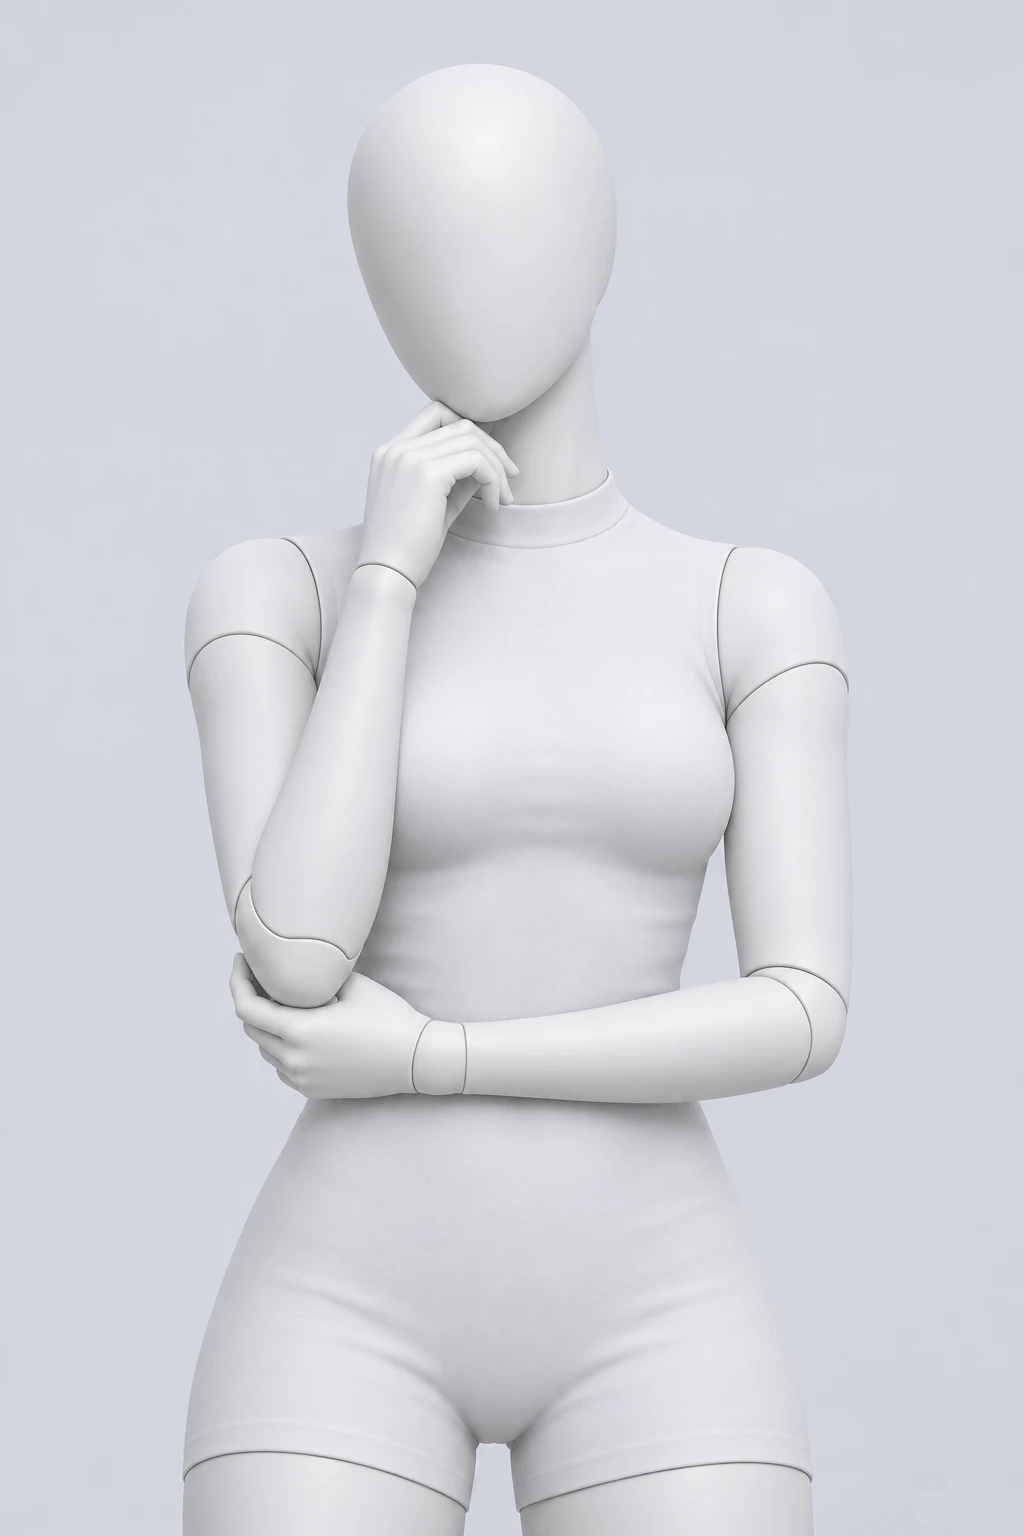
Women mannequin reference. Compare the shoulder direction, hand placement and available space with your source image.
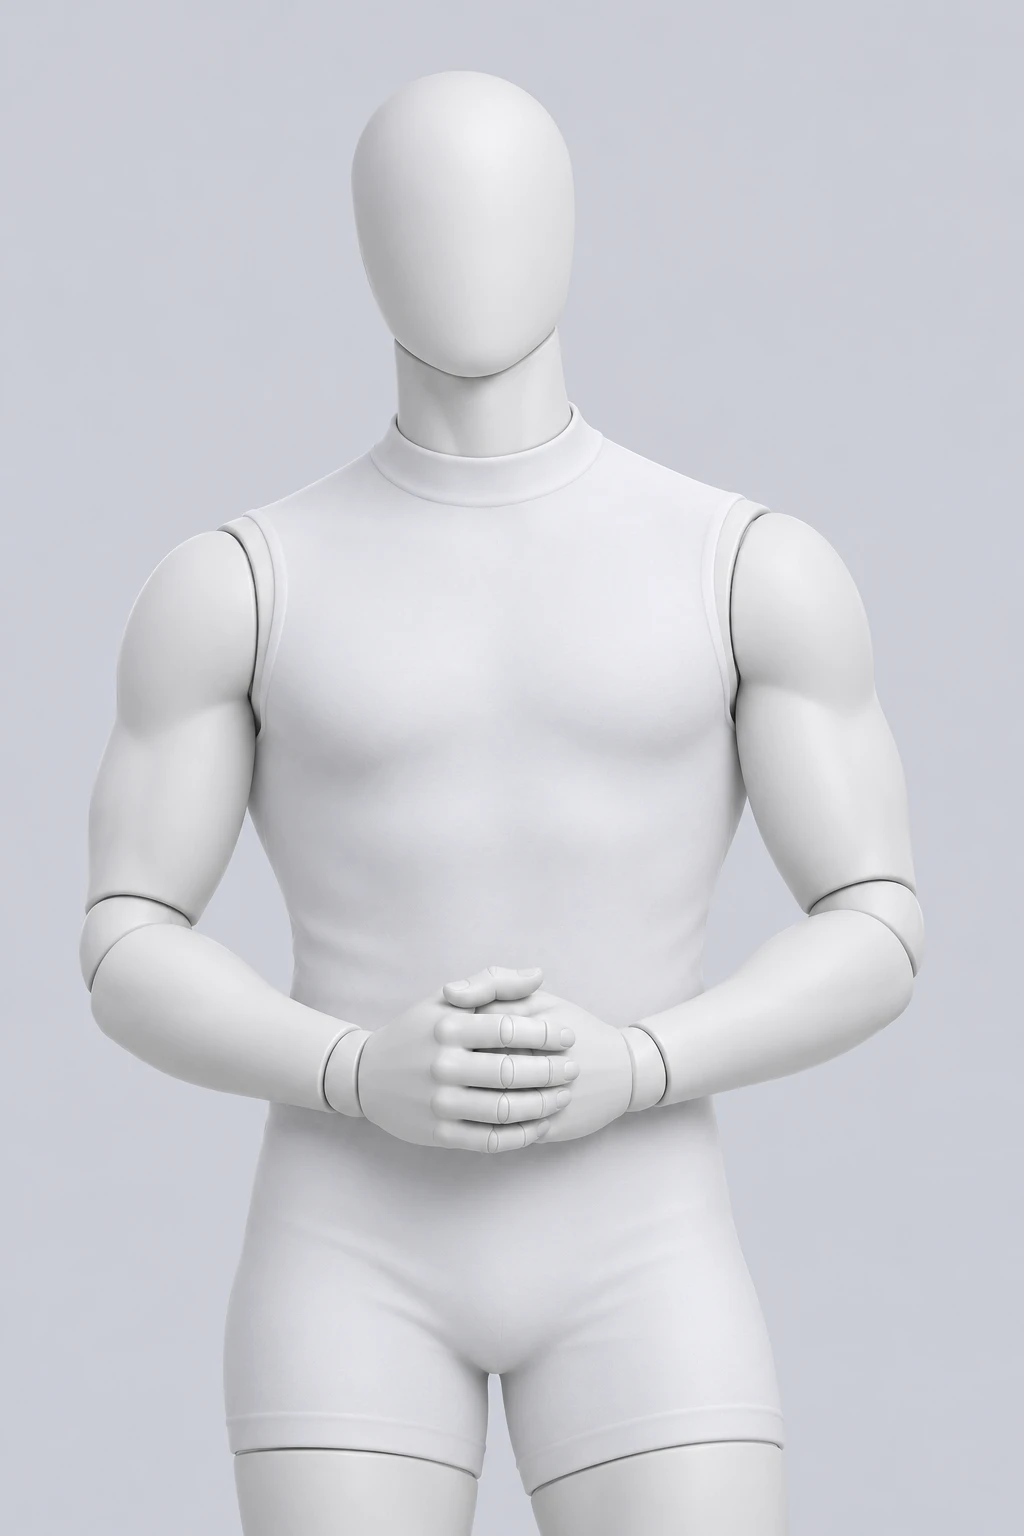
Men mannequin reference. Compare the shoulder direction, hand placement and available space with your source image.
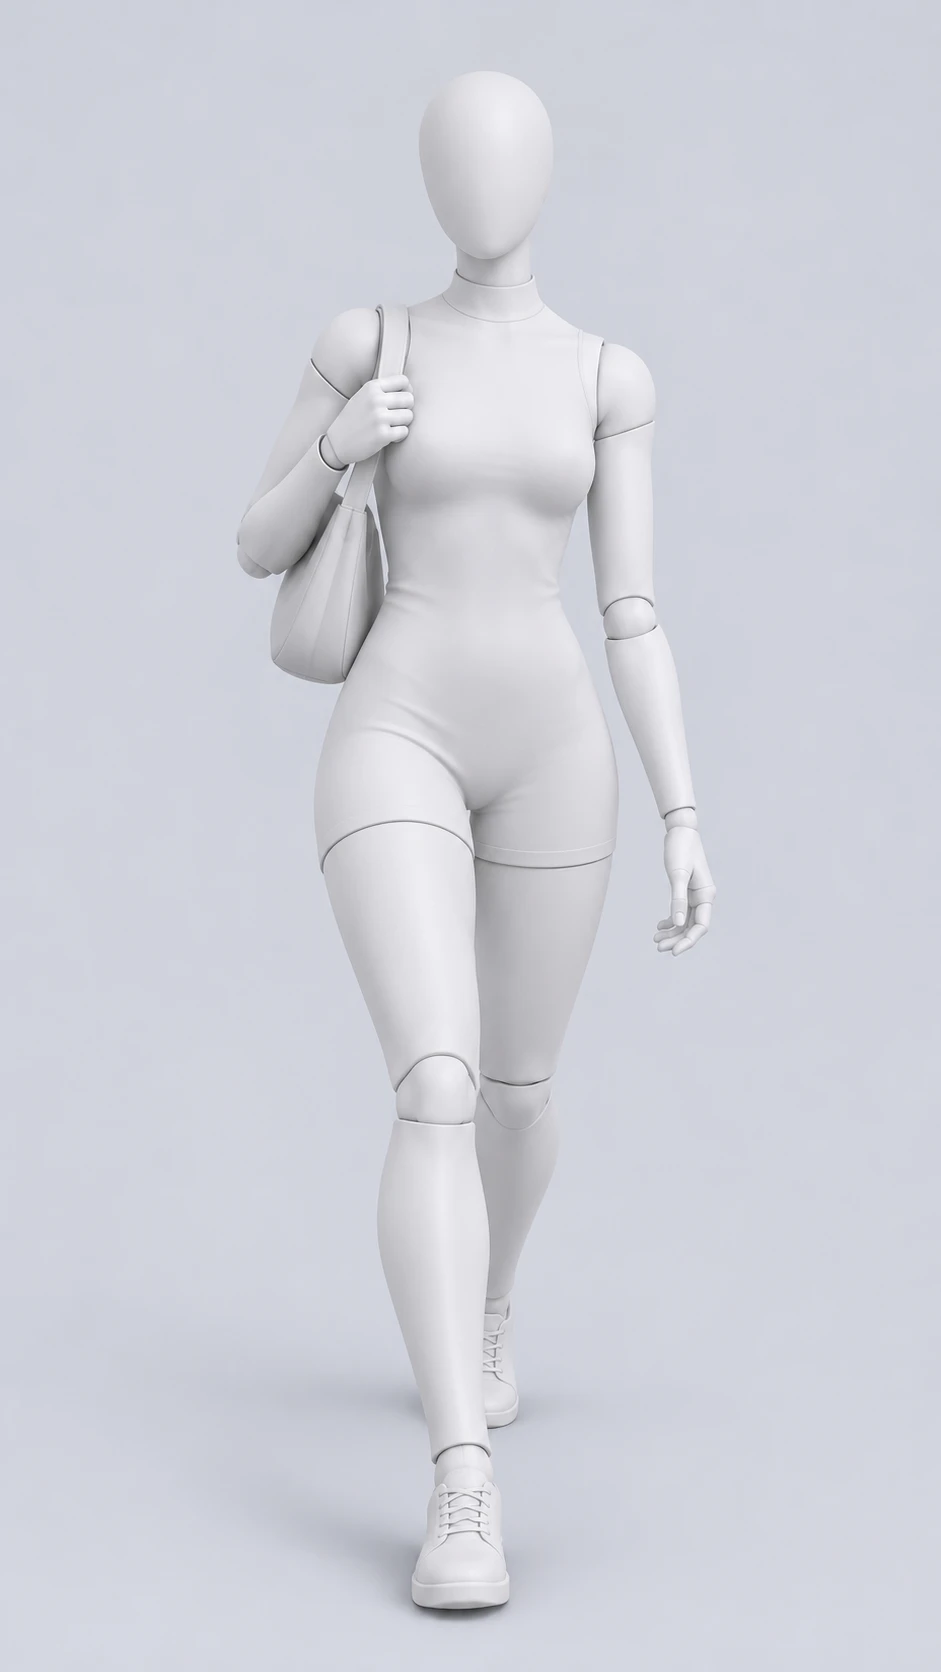
Women mannequin reference. Compare the shoulder direction, hand placement and available space with your source image.
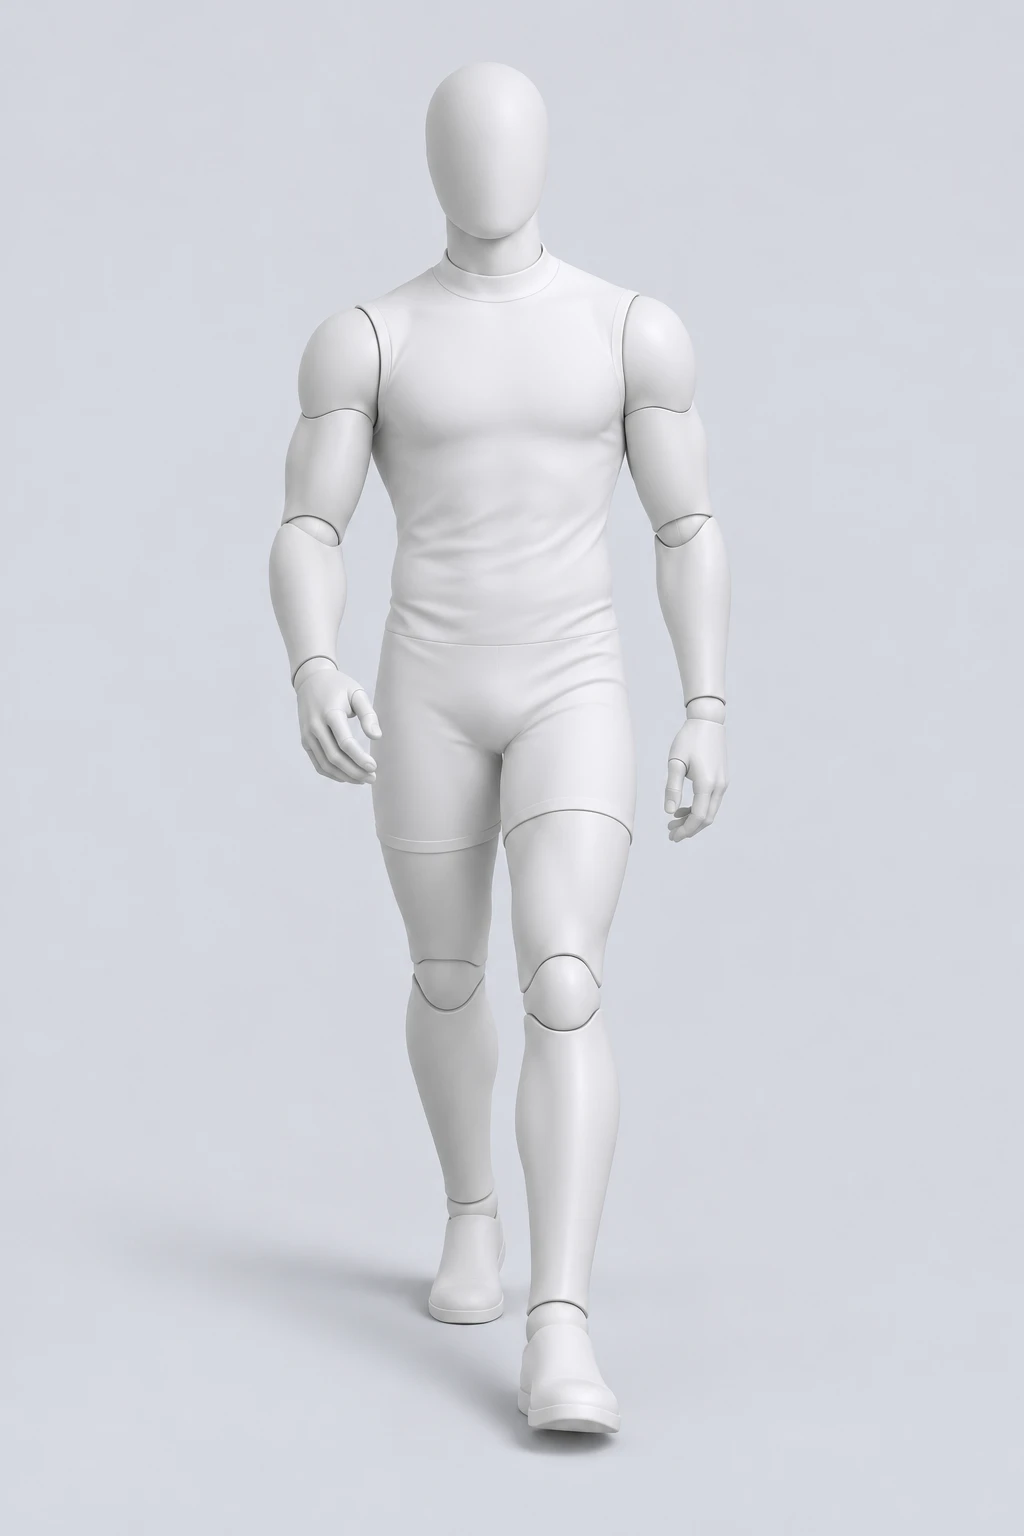
Men mannequin reference. Compare the shoulder direction, hand placement and available space with your source image.
The women’s and men’s collections contain 105 white mannequin images. Pose Atlas adds 288 pose groups with 1,439 available views. Different camera views belong to the same pose group; they are not counted as extra poses.
Begin with the photo you already have, rather than the most dramatic thumbnail. Identify what should change: perhaps one arm needs to move away from the torso, the shoulders should turn, or a seated portrait needs a more relaxed arrangement. A reference becomes useful when it answers that particular question. It does not need matching clothes, a matching face, or a similar background to explain the movement.
Next, compare the visible body area. A close portrait cannot show a complete walking stride without asking the editor to create more of the scene. A waist-up reference can explain a hand gesture, but it cannot tell you where the feet should land. Choose a crop that communicates the important joints and leaves enough context to understand their relationship. If a hand is your main concern, inspect the elbow and shoulder as well.
Camera position matters just as much as the pose itself. A front-facing reference and a low-angle source can make the same arm look very different. The Pose Atlas views help you compare those relationships. Use the nearest useful angle instead of assuming that the front view is always the clearest. If the available views do not fit, uploading your own reference remains an option in the editor.
The white material removes clothing patterns and facial features from the reference, making limb direction easier to inspect. Follow the line from shoulder to elbow to wrist. For the lower body, look from the pelvis through the knees to the feet. Notice which leg supports the weight and which arm is relaxed. These relationships usually communicate more than the general mood of the pose.
The mannequin’s proportions are not measurements for the person in your photo. A longer torso, a narrower waist, or a different shoulder width can change the silhouette even when the joints follow a similar arrangement. Use the guide for position and describe any limits that matter. Ask to keep the original person and outfit rather than asking the generator to reproduce the entire reference image.
Some references depend on a chair, a wall, a floor, or a raised surface. Check whether that support exists in your original. A seated pose with elbows resting on knees has different requirements from a standing arm gesture. When the necessary support is missing, choose a freestanding pose or explicitly accept a broader scene change. Asking for both an absent chair and a completely unchanged background creates competing instructions.
Also inspect the surrounding space. An overhead gesture needs room above the head; a wide stance needs room near the feet. Clothing can restrict how clearly a movement reads, especially when long sleeves cover the hands or a coat hides the waist. Select a smaller adjustment when your crop or outfit makes a larger change difficult to assess.
Choosing a picture is the start of the brief. Add a short instruction explaining which movement to borrow and which details belong to your original. The editor accepts a reference together with text, so you can narrow the request instead of relying on the reference to communicate everything. A useful instruction has three parts: the intended action, the body area involved, and the details that should remain recognizable.
Use the reference for the shoulder angle and bent arm. Place one hand on the hip and relax the other arm. Keep the person, clothing and setting from my original photo. Keep natural human skin and clothing; use the mannequin only for pose guidance.
This example separates the reference’s role from the source image’s role. It does not guarantee identical details, and you should still compare the output. If the direction matters, describe the side clearly, such as “the hand on the left side of the image.” Avoid mixing the viewer’s left with the subject’s left within the same request.
Do not add unrelated goals just because the text field has space. Changing the pose, replacing the outfit, moving the camera, changing the lighting and creating a new location at the same time makes it harder to judge what worked. Start with the movement you care about. For more examples of focused wording, visit the AI pose prompt collection.
Imagine a portrait with a hand close to the face. If your goal is simply to open up the expression, lowering that hand may be enough. A completely different torso angle introduces extra changes to the face, hair, shoulder and background. Choose the smallest reference change that solves the actual problem, then inspect the result before deciding whether another edit is necessary.
The same principle applies to posture. An upright seated reference may help explain a straighter back, but it can also change how clothing folds at the waist and how the body meets the chair. Describe the intended improvement without assuming that every surrounding pixel will stay fixed. Keep your original file available so that the comparison stays grounded in the starting image.
First compare the requested movement. Is the arm on the correct side? Does the hand actually touch the waist, or does it float nearby? Does the torso turn in the intended direction? Judge those relationships before deciding whether the overall image looks attractive. A polished portrait can still miss the requested gesture.
Then inspect the person and clothing. Compare facial features, hairline, visible accessories, garment edges and any text or patterns that matter. A mannequin supplies no evidence about those details, so they need a separate check against the original. Zoom in on hands and wrists, especially when fingers overlap or a palm rests against the face.
Finally, review support and framing. Feet should meet the ground plausibly, a seated body should meet the seat, and limbs should fit inside the intended crop. Compare nearby background edges where the body moved. Save the result only after deciding whether the complete picture works for your intended use. The AI Pose Changer review shows existing test examples with observations about these tradeoffs.
For your own testing, keep the original image, selected reference, prompt and generated output together. Note the settings shown in the editor and whether you made additional attempts. If you change several things between attempts, you cannot easily tell which change improved the result. A simple record is more useful than relying on memory after browsing many thumbnails.
Reference images in this library are starting points, not ratings of output quality. The collection contains different movement types and different levels of complexity. A simple standing arm change and a seated reconstruction ask different things of the editor. Compare examples within the task you need rather than treating the number of references as a promise about every possible outcome.
Yes. You can inspect the reference images and read the category guides before choosing a source photo. Selecting a pose prepares your draft; it does not itself start a paid generation. Sign in when you are ready to generate, and review the credit cost shown on the button.
No. The white mannequins and drawings describe body position. Your source photo supplies the person you want to edit. State that distinction in your instructions when useful, and inspect the result to confirm that it follows your intent.
Yes. Use the upload option in the editor when your own image explains the movement better. The reference photo guide explains how to compare crop, angle and support. Choose an image you are entitled to use and keep the source and reference roles clear.
Choose standing references for weight shifts and full-body directions, seated references for chair and knee relationships, and half-body references for gestures near the face or chest. If your photo crosses those categories, prioritize the body area that must change and use your prompt to preserve the rest.
This recorded heart-hands edit shows why a half-body reference can clarify hand placement. The same sample portrait supplied the identity and clothing. One submission, November 5, 2026, 2K / Medium, 5 credits; no retouching.
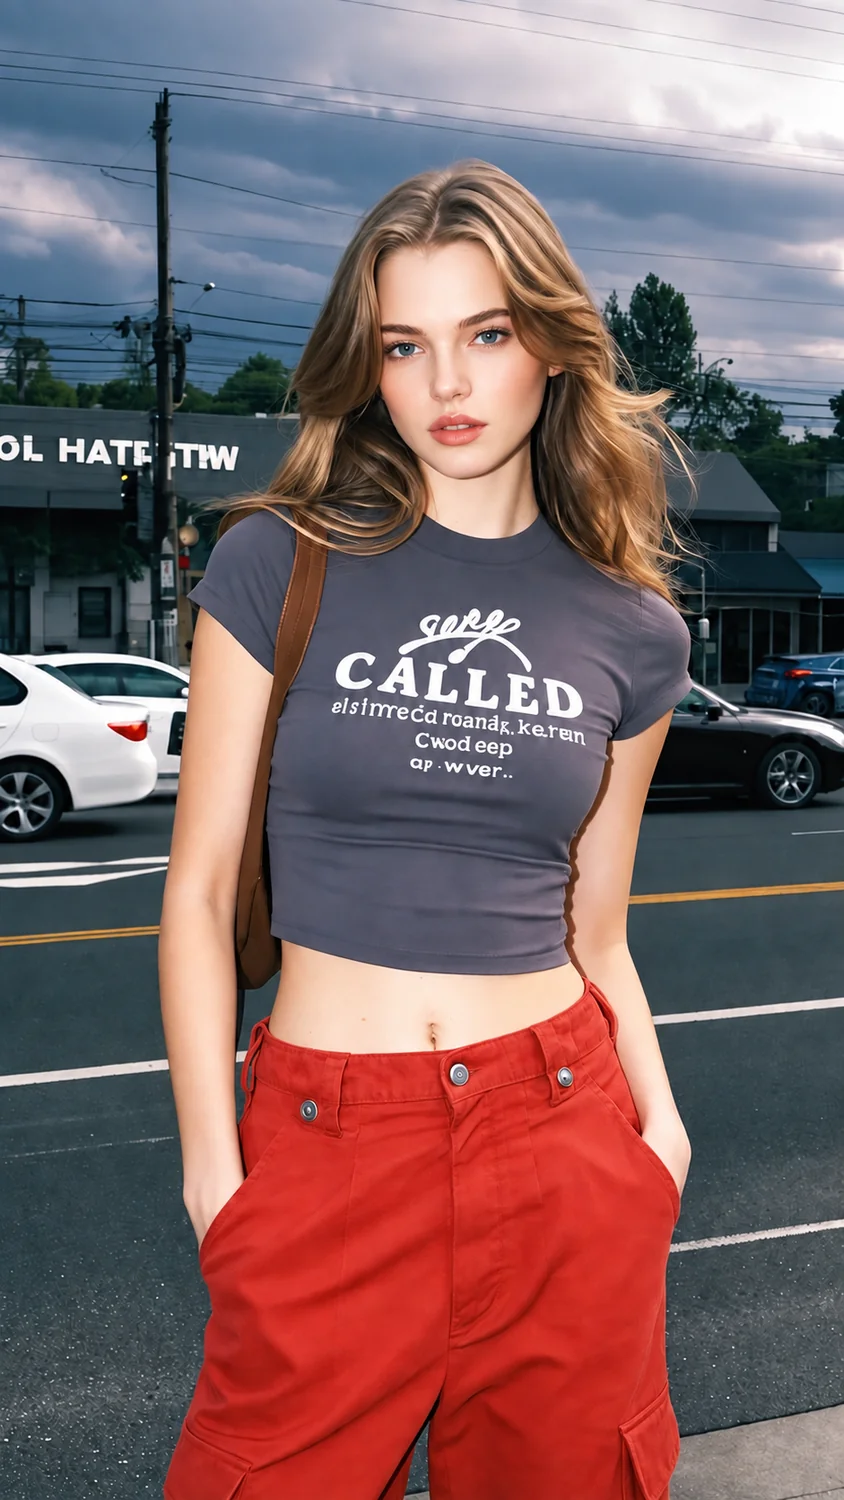
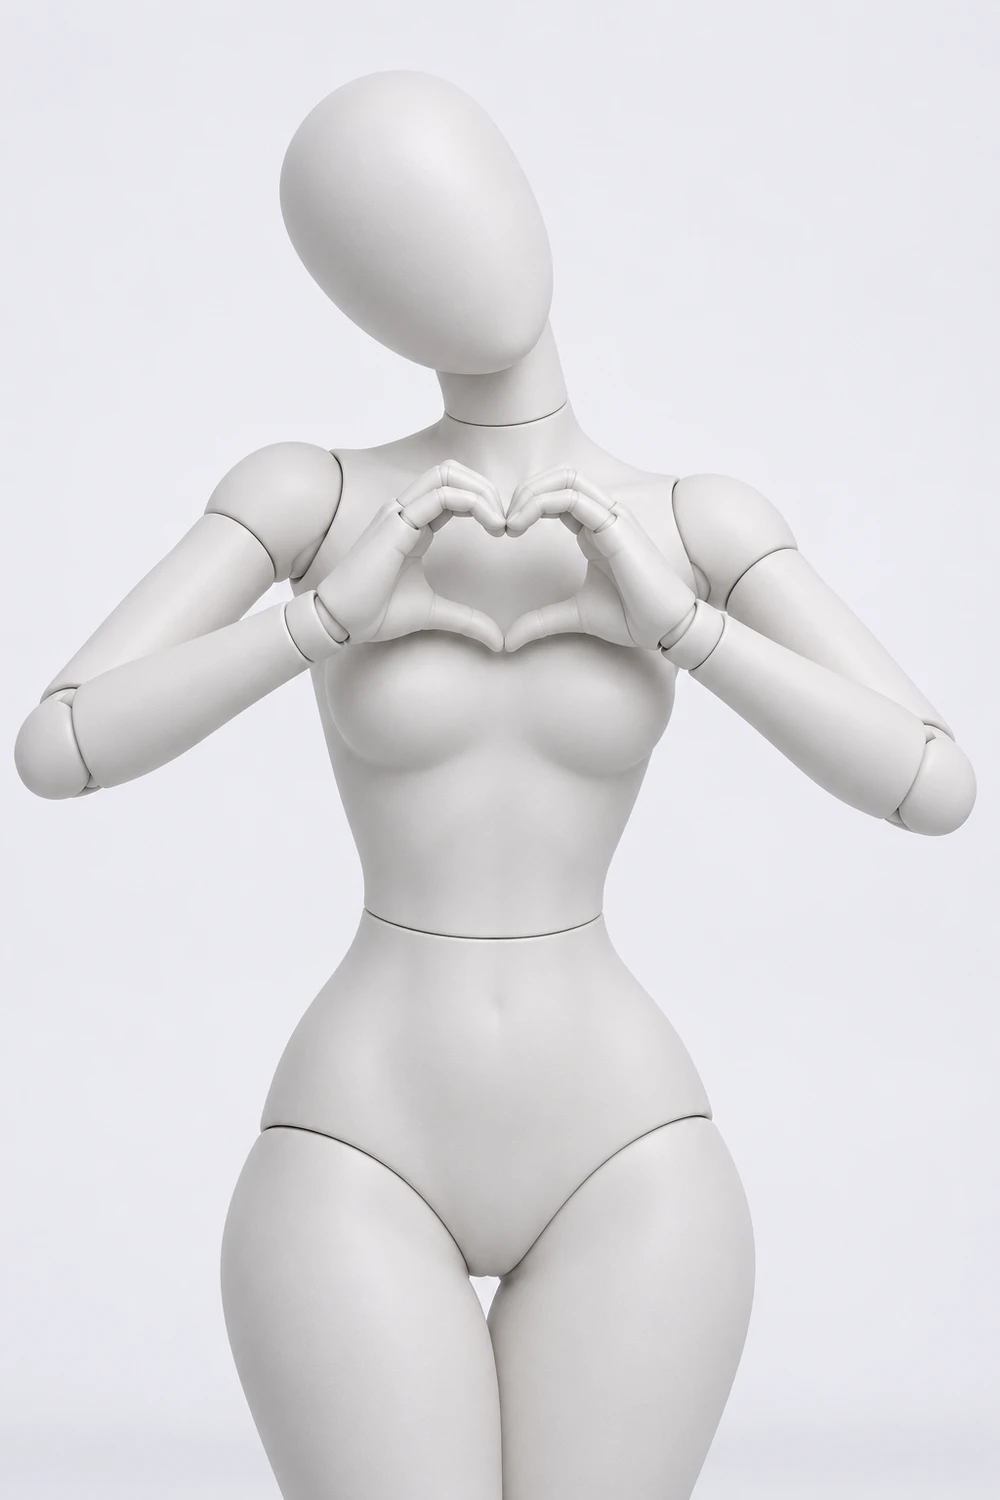
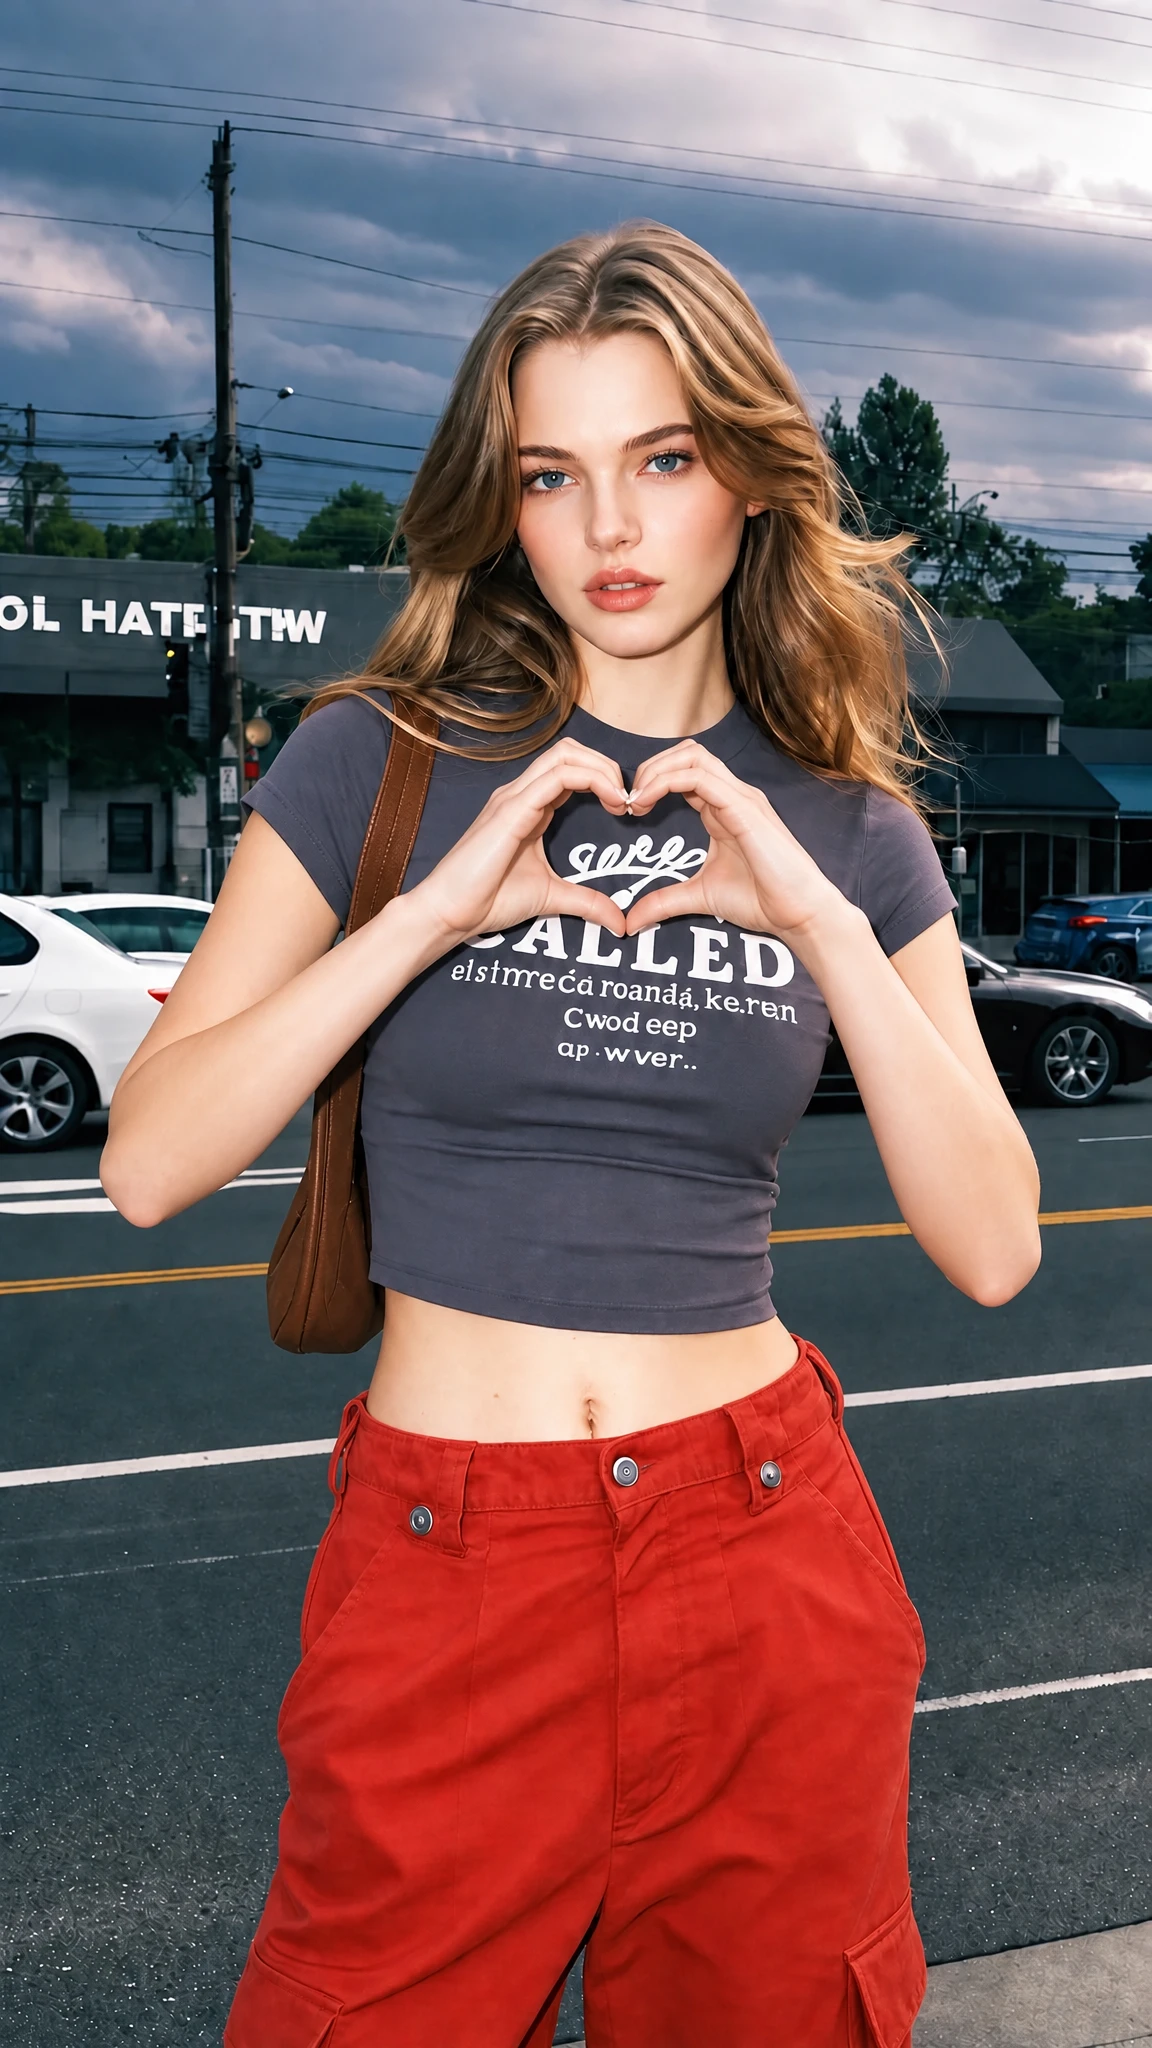
Observed: Both arms rise and the hands form a visible heart in front of the chest. The person retains a photographic appearance.
Inspect closely: Inspect the individual fingers, wrists and shirt print. The hand shape covers part of the garment, and small printed details differ.
See all three mannequin tests, exact prompts, and observations. The review also explains the separate five-case editorial score.
Pick a reference above, then check your source and instructions in the editor.
Open the pose editor