
Before You Begin: Choose a Photo for Pose Editing
Start with one clearly visible person and a pose you can explain in a sentence. A useful source photo shows the body areas you want to reposition. For a hand adjustment, keep the hand, wrist, and arm visible. For a standing pose, choose an image that includes the legs and enough space around the subject.
Clear lighting makes facial features, clothing edges, and body position easier to inspect. A heavily cropped portrait gives you less information about the rest of the body. If your goal requires feet that are outside the frame, consider a wider source instead of expecting missing details to match reality.
Choose a photo you have permission to edit. Keep an unchanged copy so you can compare the original framing and details later. This AI Pose Changer tutorial focuses on a manageable first edit: adjust one stance, arm position, or torso angle before attempting a completely different arrangement.
For a broader introduction to the tool, visit AI Pose Changer.
How to Use AI Pose Changer Step by Step
Follow this AI Pose Changer step-by-step guide in order: choose your source, decide whether you need a reference, describe the change, review your inputs, and check the studio status. Then sign in, generate your image, and review the completed result.
Add Your Source Photo
Open the pose editing workspace and find Your photo. Select Choose image to pick a JPG, PNG, or WebP image. After it opens, check the thumbnail under Your photo. The right-hand example animation explains the workflow; it is not your uploaded photo or a completed result.
Use Replace image if you picked the wrong file, or Remove to clear it. If the image cannot be opened, read the displayed message and try another supported file. Renaming a file extension does not convert the image into a different format.
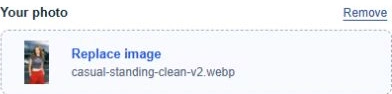
Check your uploaded photo before choosing a pose.Click image to enlarge ↗ Decide Whether to Add a Reference
The Pose reference area offers Upload pose reference and Pose library. Upload a separate image when you already have a body position in mind. Alternatively, open the library, choose Choose a pose, and browse the available examples. Search poses accepts terms such as seated, hands, or walking.
Selecting a library pose closes the picker and shows your choice in the reference area. Your source remains the person to edit; the reference supplies body position. Use Remove selected pose if you want to return to instructions alone. Switching reference sources clears the previous choice, so check this area before continuing.
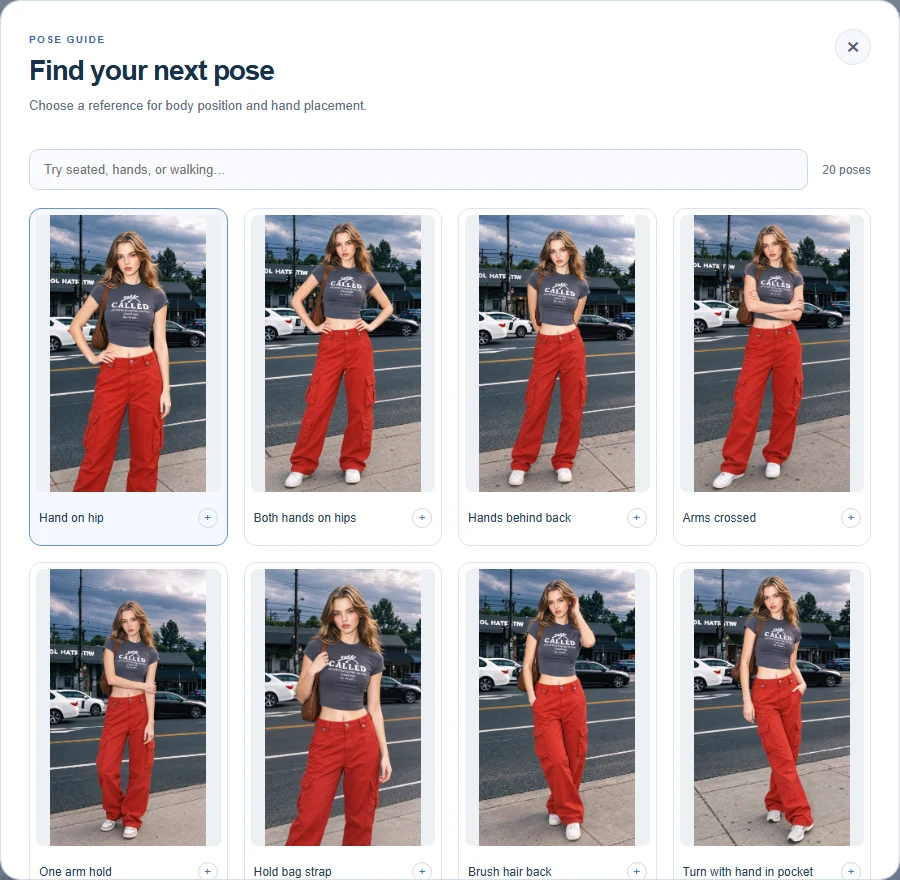
Step 2 · Browse the pose library or search for a body position.Studio interface · September 2026 · Open image to enlarge Describe the Change
Enter your direction under Pose instructions (optional). Name the movement first, then describe the details you want preserved. For example: “Lower both shoulders and rest the left hand on the hip. Keep the face, outfit, and camera angle consistent with my photo.”
The Relaxed stance, Hand on hip, and Match reference examples can provide a starting point. Selecting one replaces the current instructions, so copy any wording you want to keep first. Without a reference image, write a clear pose description. With a reference, use text to clarify which parts of the pose matter.
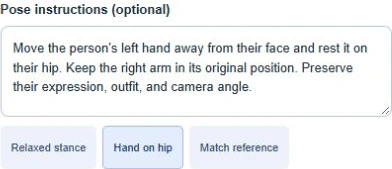
Describe your pose or choose an example prompt.Click image to enlarge ↗ Review Your Photo and Pose
Check that Your photo shows the person you want to edit and that the reference or instructions describe one clear movement. The editor automatically uses the original image ratio, 2K resolution, and Medium quality. You do not need to select any output settings.
Each generated image uses five credits. Confirm that the original framing leaves room for the requested gesture, especially hands and feet. If you need a different crop for your project, prepare it before uploading or crop the completed result afterward.
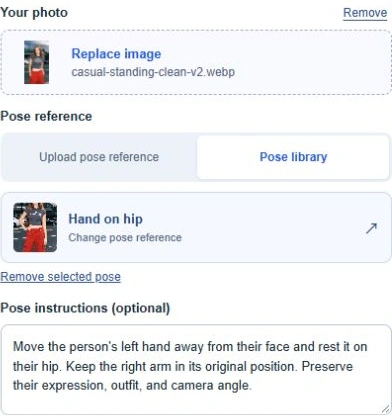
Review your photo, reference and instructions together.Click image to enlarge ↗ Sign In and Generate Your Pose
When you are signed out, Generate for Free takes you toward sign-in after saving the current draft. Your photo, reference and instructions are intended to return with you in the same browser. If the studio reports a saving problem, resolve it before leaving.
After signing in, confirm that your photo and instructions are ready, then select Generate Pose. The studio checks your balance before uploading. If credits are insufficient, choose a pack in the payment dialog or close it to keep editing. After payment, return and submit the edit yourself; buying credits does not start generation automatically.

Select Generate for Free to sign in and continue.Click image to enlarge ↗ Review and Save Your Result
Before leaving the studio, confirm that the correct source photo appears, the selected reference matches your intention, and the prompt names one coherent pose. Check the pose instructions once more. Keep a separate copy of useful instructions so you can reuse them even if browser storage is cleared.
Wait for the completed result to appear in Preview. Review it against your source before deciding whether another attempt is useful, then select Open full-size image or Save image. You can browse other pages while generation continues in this tab; the status notice provides a link back to your result.
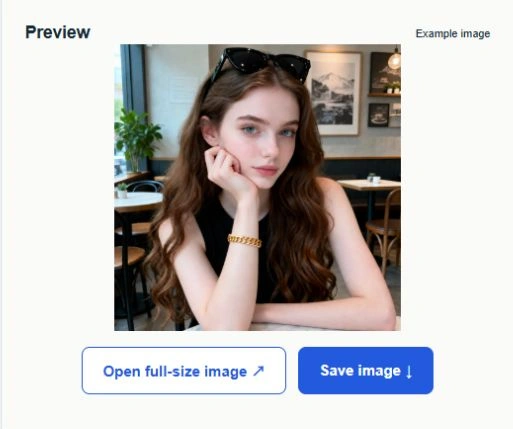
Open or save your result. Example image shown.Click image to enlarge ↗
How to Write Pose Instructions That Are Easy to Follow
Use this simple formula: body position + specific movement + details to preserve. Prefer visible directions over judgments such as “make me look better.” Mention the torso, arms, hands, or legs only where they help explain the change. State left and right from the subject’s perspective when the distinction matters.
Example 1: A More Relaxed Standing Pose
Instead of “Make the pose natural,” try:
Keep the person standing. Shift their weight slightly onto their right leg, relax both shoulders, and let the arms hang comfortably. Preserve their facial features, clothing, and the existing background.
The revision gives “natural” an observable meaning: a small weight shift and relaxed shoulders. It keeps the request focused instead of adding a new outfit, setting, and camera position at the same time.
Example 2: Clearer Hand Placement
Instead of “Fix the arms,” try:
Place the subject’s left hand loosely on their left hip, with the elbow angled slightly outward. Keep the right arm beside the body. Maintain the original expression, outfit, and framing.
This names the hand, its destination, and the other arm’s position. If the source already has a suitable stance, leave the legs out of the request. Fewer unrelated changes make the intended adjustment easier to evaluate.
Example 3: Follow a Reference Without Replacing the Person
For a reference-based direction, try:
Follow the reference image for the torso turn and hand placement. Use the person, clothing, and background from my original photo. Adapt the pose to the original camera angle and keep the face visible.
These examples illustrate prompt writing; they are not tested output guarantees. Preserve the useful parts of a prompt when revising it. Change one instruction at a time so you can identify what the revision was supposed to improve.
How to Use a Pose Reference Image
A source photo and a pose reference have different jobs. The source establishes the person and scene. The reference communicates an arrangement of the body. Choose a reference with a compatible viewpoint: a front-facing source and an extreme rear-facing target may require changes beyond a simple arm adjustment.
Look for visible hands, understandable leg positions, and a clear silhouette. If you only want the reference’s upper-body pose, say so. You do not need to request its clothing, hairstyle, or surroundings. The studio’s built-in references are pose guides, not evidence of an edit made from your uploaded photo.
For a small adjustment, a text-only instruction may be easier. For a pose that is difficult to describe, a reference can provide a visual target. Choose the method that makes your intention clearest, then remove any instruction that contradicts it.
Automatic Output: Original Ratio, 2K, and Medium
AI Pose Changer handles the output format automatically. Every edit keeps your original photo’s proportions and uses 2K resolution with Medium quality. There are no output menus to adjust, so your attention stays on choosing a useful photo and describing the movement.
| Output | How it works |
|---|---|
| Original image ratio | The result follows your source proportions. Prepare a different crop before uploading if your intended layout needs another shape. |
| 2K resolution | All edits use 2K. A larger output cannot guarantee recovery of blurry facial features or hidden fingers. |
| Medium quality | Medium is applied automatically to every edit. A clear source and consistent pose instructions still matter. |
Each image uses five credits. Check the pricing page for one-time credit packs and your account for the current balance. When reviewing attempts, change one pose instruction at a time and keep a copy of the source so you can identify what changed.
What to Check in a Generated Result
Use this checklist when an actual generated image is available. Start with the requested movement: did the arm, stance, or torso change in the intended way? Then compare details with the original.
- Face and expression: Check that visible features still resemble the source and that the expression suits the image.
- Hands and wrists: Look for plausible fingers, natural wrist angles, and believable contact with clothing or objects.
- Body balance: Inspect shoulders, hips, knees, and weight distribution. A standing pose should look supported.
- Outfit: Compare sleeves, seams, patterns, accessories, and fabric around the repositioned limbs.
- Background: Check nearby edges, shadows, furniture, and objects that overlap the person.
- Framing: Make sure important body parts remain visible and the composition works at the size you need.
A larger image does not automatically mean a better pose. Review the whole composition and the affected area before deciding what to revise.
Troubleshooting: Inputs and Unnatural Poses
For current studio issues, check the input state first:
| What you see | What to try |
|---|---|
| The selected image does not open | Read the error, choose a supported image, and confirm that the file opens on your device. |
| A library search has no matches | Try a broader term such as hands or seated, or clear the search to browse all references. |
| The reference changed unexpectedly | Check whether you switched between Upload pose reference and Pose library; select the intended reference again. |
| The preview looks unchanged | Confirm that you submitted a generation task and check its status. The example animation is not an output. If a completed result changes too little, clarify the pose instructions before starting another paid attempt. |
If you later need to fix an unnatural AI pose, first identify the specific mismatch. For an awkward elbow, simplify the arm direction. For an unsuitable body turn, choose a reference closer to the source viewpoint. For unwanted scene changes, narrow the request to the intended body movement and restate the details to preserve.
Do not respond to one weak detail by rewriting everything. Keep the source and useful instructions consistent, then revise the smallest relevant part.
Frequently Asked Questions
How do I use AI Pose Changer without a reference image?
Leave the optional reference empty and describe the pose in Pose instructions. Specify the body position and the movement you want. A reference is helpful for complex arrangements, but it is not required to prepare a text-guided edit.
How do I keep the same face when changing a pose?
Start with a clear face in the source, request a limited pose change, and explicitly ask to preserve facial features and expression. Avoid unnecessary head rotation. These instructions communicate your goal; they cannot guarantee identical facial details in the generated output.
Why is the generate button disabled?
Read the status or error beside the controls. A task already in progress, account loading, or an unconfirmed submission can prevent another request. Check that your source photo and pose direction are present. For an existing task, use Check again instead of submitting a duplicate edit.
Can I use a pose from the built-in library?
Yes. Select Pose library, open Choose a pose, and pick a reference. The selected image appears in the reference area. You can change or remove it, and your written instructions remain available for further editing.
Will my draft stay after signing in?
The studio saves your draft in the current browser before sending you to sign-in. Return using that browser and check the restored inputs. Browser restrictions or cleared storage can prevent recovery, so retain your original photo and a copy of important instructions.
Can I download the image shown in Preview as an edited result?
Yes, after generation completes and your result appears, use the save or download control. The example animation is separate from your result. Keep your original file too, and download finished images you want to retain rather than relying on indefinite online storage.