
AI Pose Changer vs Dreamina
Keep a favorite photo as your starting point, then give its next pose a clear direction. Compare our dedicated workspace with Dreamina’s broader image-creation workflow.
Choose the workflow that fits
Choose AI Pose Changer for…
A photo-first pose change with clearly separated source and reference inputs. You can use your own guide, pick from 20 built-in poses, or describe the movement without any reference image, then review the photo and instructions in the same workspace.
Consider Dreamina for…
A creative project that involves more than a new stance. Dreamina’s public image-to-image documentation covers broader transformations and follow-up editing, so consider it when scene development and further refinement are central to the task.
This comparison is published by AI Pose Changer. It covers our current interface and the reviewed product documentation, not a controlled output-quality test. Real-account generation and payment have not been verified in this review.
The differences at a glance
Compare the same task and input requirements before choosing an editor.
| What matters | AI Pose Changer | Dreamina |
|---|---|---|
| Primary comparison | Focused photo pose workflow | Pose editing within an image-creation platform |
| Reference-based input | Original photo plus optional pose image | Original photo and reference pose documented |
| No reference available | Use text instructions or our built-in library | Text-only pose changes also documented |
| Output setup | Original ratio · 2K · Medium (fixed) | Settings depend on the selected workflow |
| Further creative editing | This page covers the dedicated pose task | Broader image-to-image and refinement tools documented |
| Evidence | Current interface and confirmed pricing | Dreamina pose tool |
Decide what should change in the picture
- Choose what changes
- Keep the identity anchored
- Set the scope of the edit
AI Pose Changer vs Dreamina starts with a simple distinction: do you want a new body position in a photo you already like, or do you want to develop a new image around that person? The first task needs a precise movement request. The second may also involve setting, visual style, objects, and composition. Write down which task you mean before choosing a workflow.
Dreamina’s official pose page describes using an original photo with a pose reference. Its image-to-image page discusses broader image transformations and refinement tools. Our interpretation is that the wider creative environment may matter if the pose edit is only one stage of your project. We have not tested its output against ours.
Our editor concentrates the preparation around a source photo, an optional pose guide, written instructions, and preview. That focus is useful when the existing scene and appearance are already part of the brief. It lets you organize what should move and what should remain the visual reference without first deciding among unrelated creative tasks.
One image supplies the person. One guides the pose.
In our workspace, the source photo and the pose reference have distinct roles. Upload the photo you want to edit as the source. If you have a pose image, add it to the separate reference area. The reference should communicate body position; it does not need to resemble the source in clothing, location, or photographic style. Explain those boundaries in your prompt when they matter.
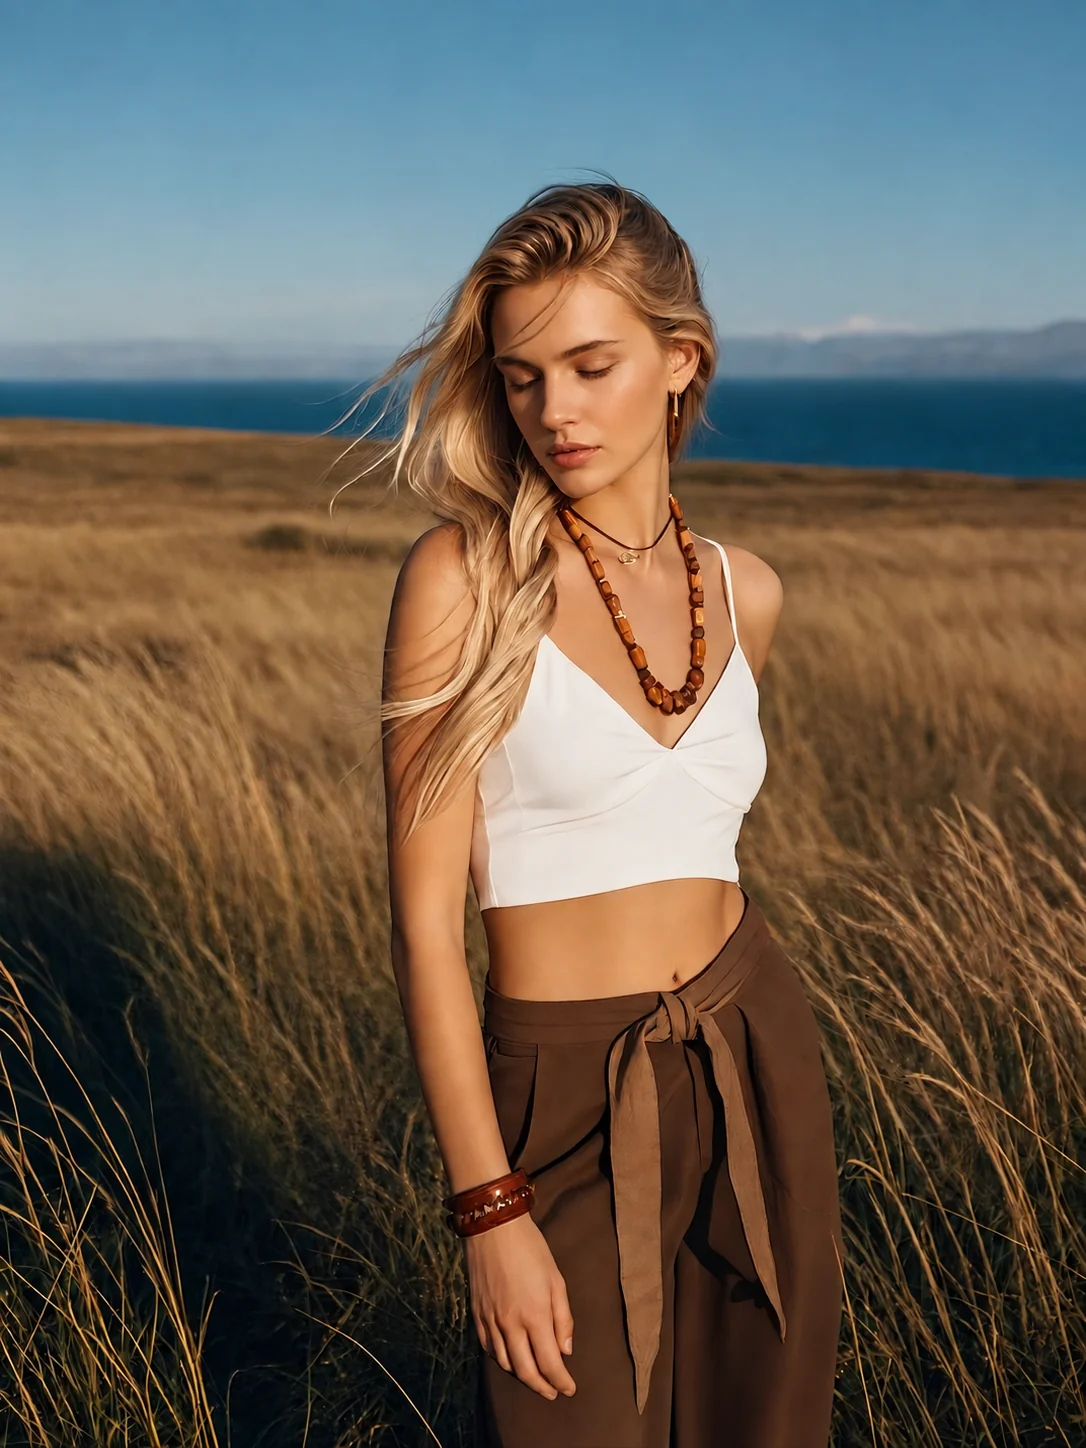
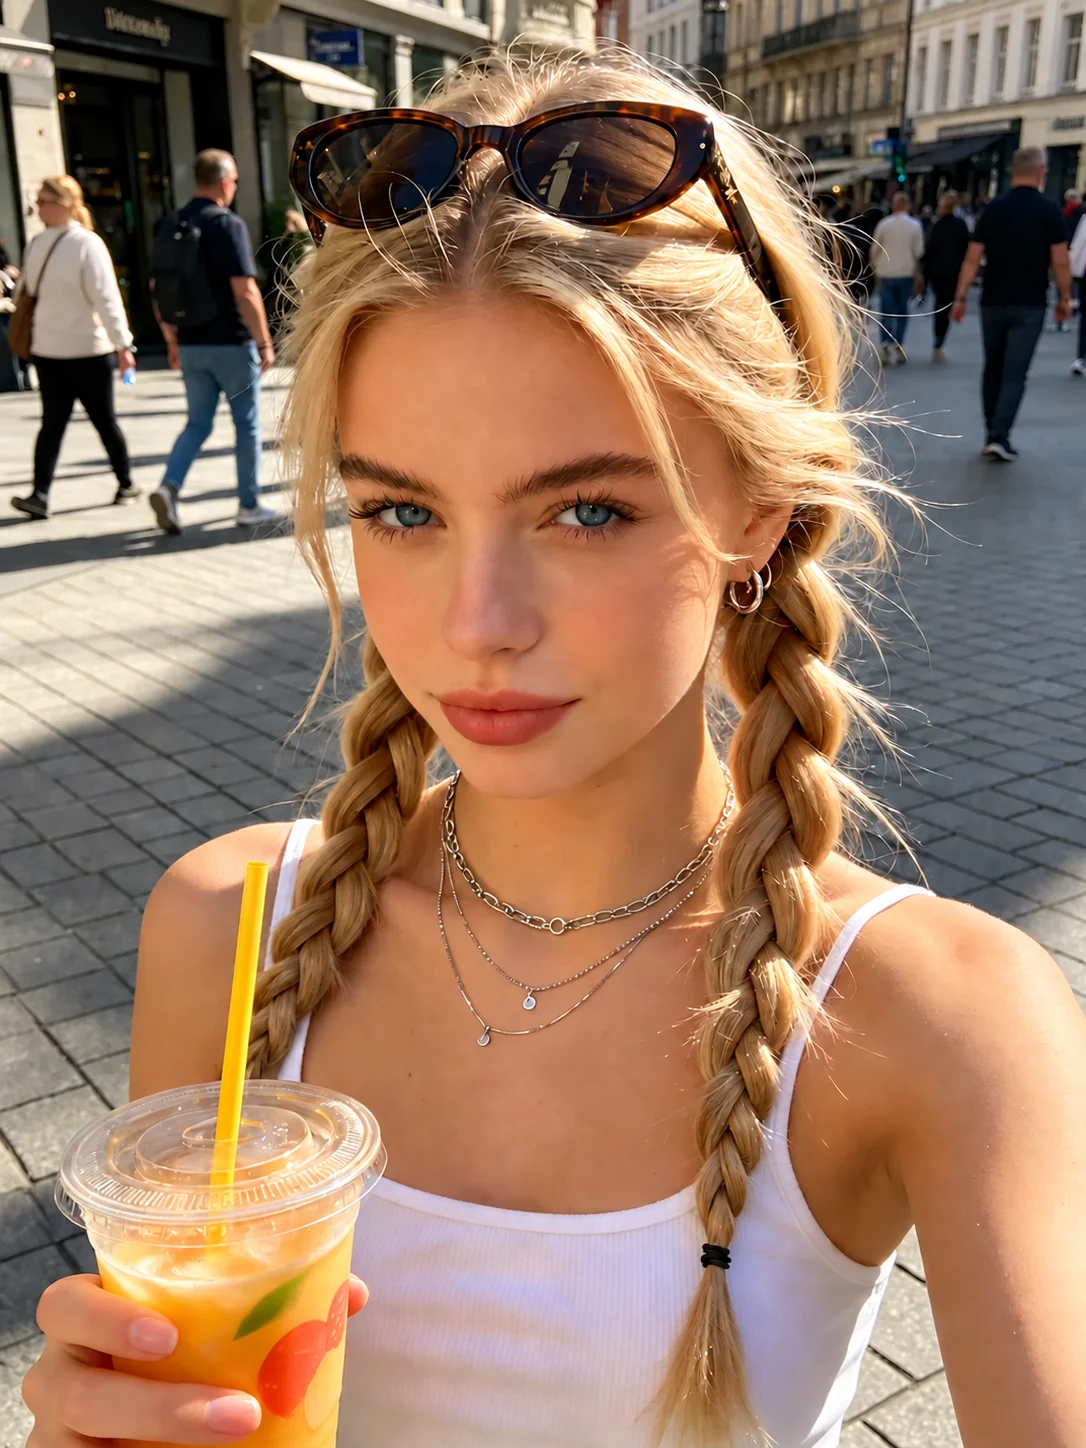
In the photo examples shown here, the field portrait illustrates the source role, while the close-up street portrait illustrates a possible gesture reference. Decide whether you want the arm position, the upper-body angle, or a different crop before using that guide. A close-up does not show a full-body stance. These separate images explain input roles; they are not a before-and-after result. A clear instruction defines exactly what the guide should contribute.
The optional reference is also useful when you already have a visual brief from your own project. You can inspect the source, guide, and text together before submitting. The advantage we emphasize is input clarity: the interface makes the roles easy to review. Reference-based editing itself is shared by other products, including the Dreamina workflow documented above.
Keep moving when you do not have a reference
Start with words
A small pose change should not require you to collect another picture just to describe it. In AI Pose Changer, you can leave the reference input empty and write the new stance in words. A request to turn slightly, lower an arm, or relax the shoulders can be expressed directly. The source photo remains required because this workflow edits an existing person rather than starting with a blank scene.
Choose a built-in reference
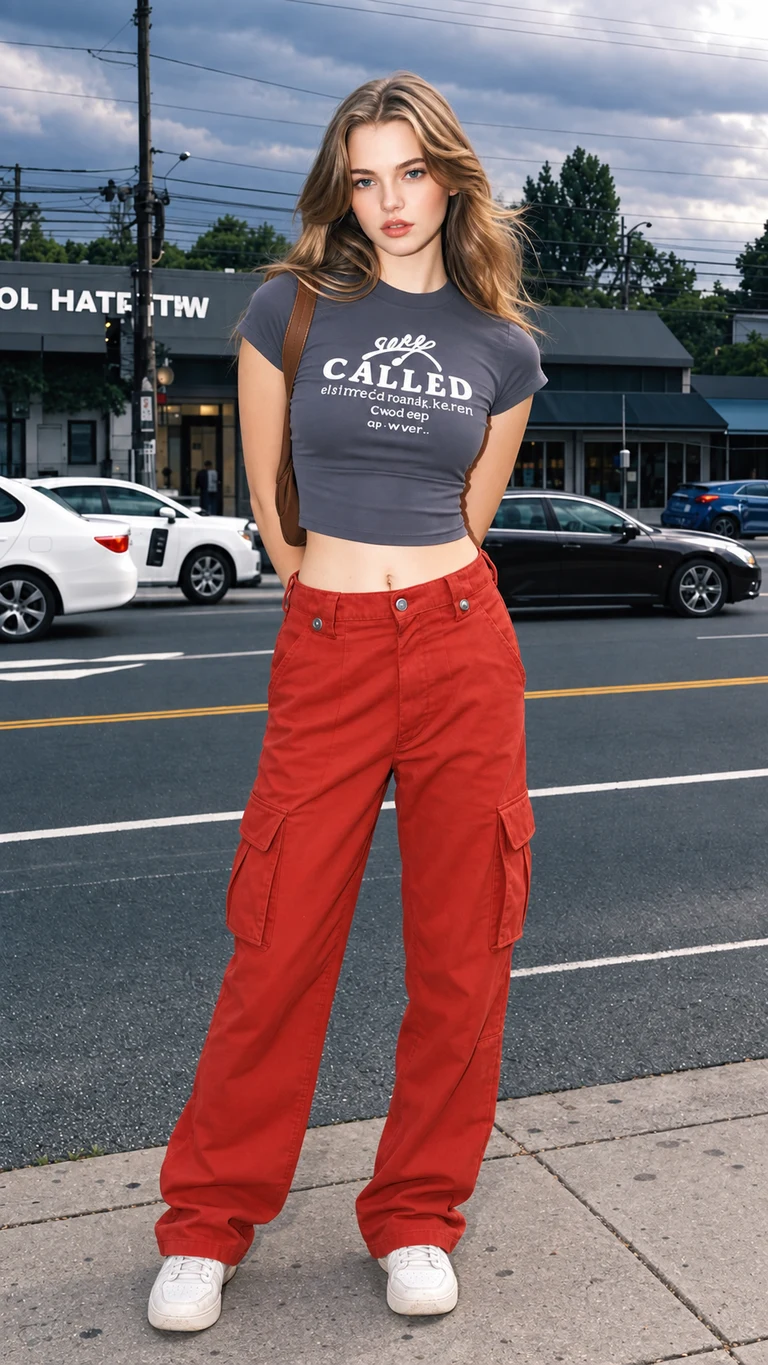
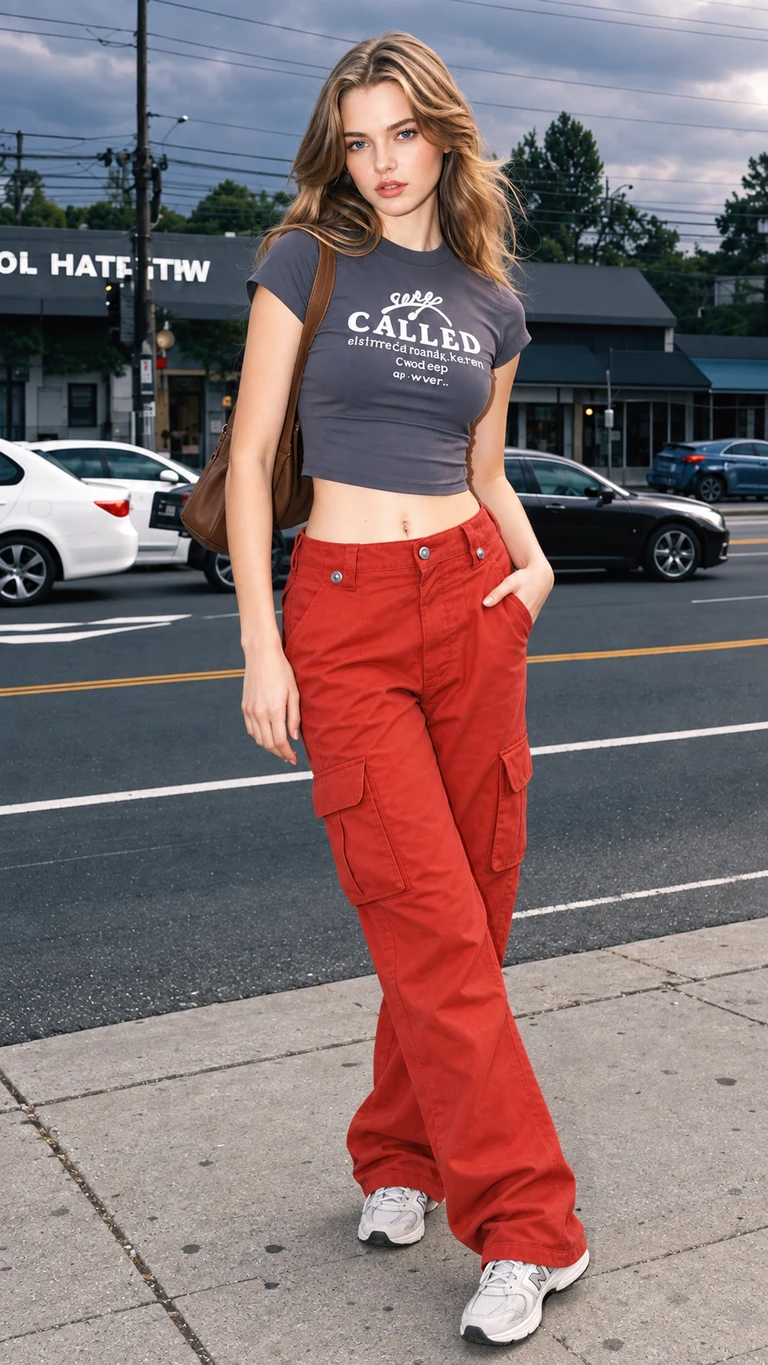
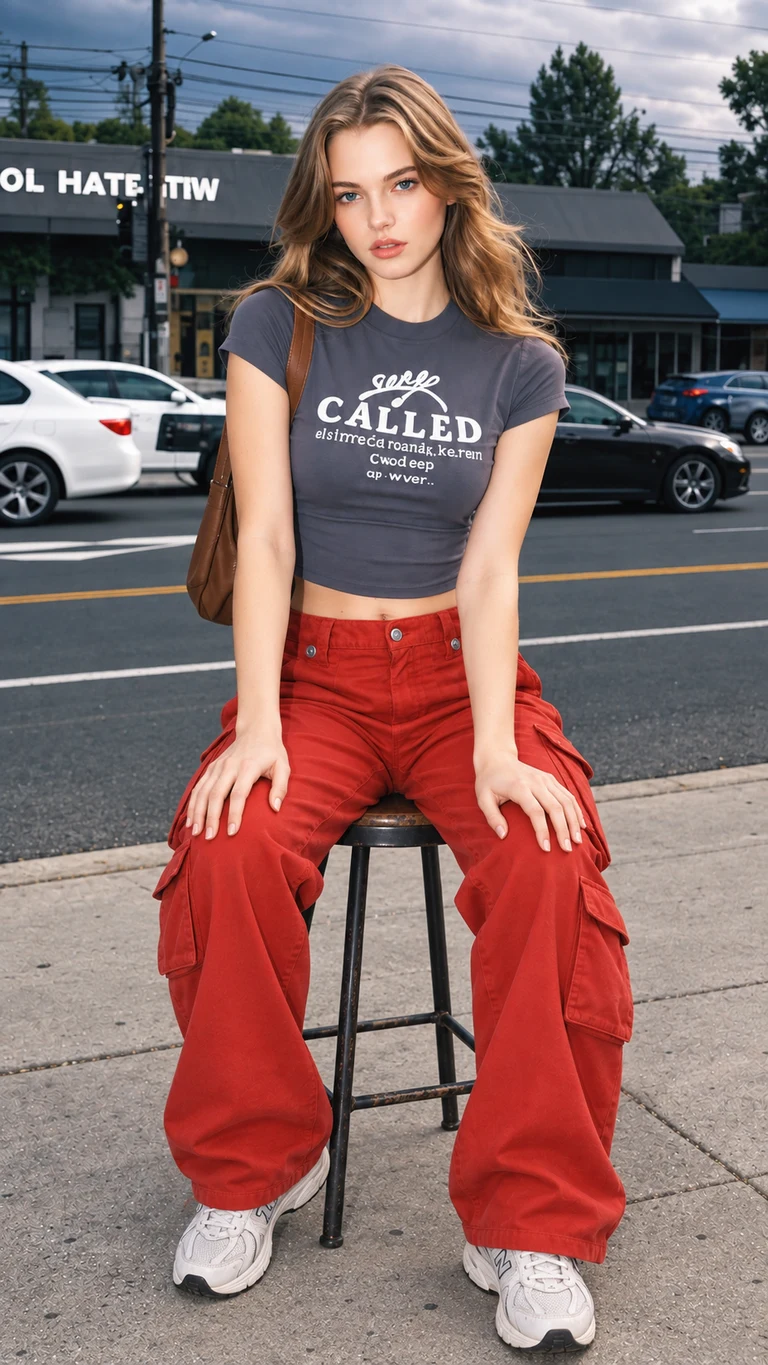
If you know the general direction but want a visual starting point, open the built-in pose library. It contains 20 selectable references and a search field. Choose a relevant gesture, then add any important instruction about the original crop or surrounding objects. This gives you a middle path between writing everything yourself and finding a separate reference image.
Keep the brief specific
Treat the selected reference as guidance, not a promise of an exact geometric copy. The source may have a different crop, body orientation, or visible environment. If the guide asks for something incompatible with the source, decide which constraint matters more before generating. That choice belongs in the brief and should be visible in the way you judge the result.
Write a brief with clear priorities
Consider a full-body photograph taken on a quiet street. You want a more natural walking stance, but you like the coat, expression, and location. The pose request should focus on the visible movement. You can describe a small step and relaxed arms while asking the editor to retain the source appearance. If you attach a reference, specify whether it guides the legs, torso, or both.
Use the reference for the walking stance and relaxed arm placement. Keep the person, coat, expression, and street setting from my original photo. Adapt the movement to the original framing rather than changing the camera viewpoint.
A common source of ambiguity is asking for an exact pose from one image and an unchanged composition from another when the two do not fit. For instance, a wide arm gesture may extend beyond a narrow crop. Decide whether to keep the frame and adapt the gesture, or change the frame to make room. Both are legitimate goals; the problem is leaving the priority unstated.
This example is an original prompt suggestion for a narrow photo edit. It has not been used to produce a comparative benchmark image. You can adapt its structure by naming the movement first, the source details second, and the framing constraint last. Read the step-by-step editor guide if you want to see where those instructions belong.
Compare the actual controls, not just model names
A model name does not tell you the full experience of using a website. The input arrangement, instructions, output options, and result handling all matter. Two services can expose different workflows around related image capabilities. Compare the actual controls you intend to use rather than assuming that a familiar model label establishes identical behavior, cost, or results.
The Dreamina pages reviewed display multiple model labels across their content and interface. This comparison therefore does not assign the whole platform to a single permanent model version. Check the selected mode in the live product when evaluating it. We compare the documented editing task and input approach, which are more useful here than an unsupported claim that one model always wins.
Our interface automatically preserves the source ratio and uses 2K resolution with Medium quality. You choose the photo, add an optional reference, and describe the movement; there are no output settings to adjust. This keeps the workflow focused on the pose request. A consistent format does not prove face accuracy, natural hand anatomy, or preservation of fine clothing details, which still need review in the result.
Evaluate a variation against the original idea
Compare against the brief
For a pose-only brief, start your review with the body position. Does the image show the requested stance, and does the gesture fit the original framing? Then check the person, outfit, and setting. This order helps you avoid accepting an attractive picture that does not actually accomplish the edit. A creative variation can look appealing while moving away from the intended use.
Inspect the changed areas
If the project allows a wider transformation, write down the details that must remain consistent before generating. Those might be a recognizable garment, an accessory, or a particular relationship between the subject and the scene. Compare variations against that short list. Otherwise, each new image can quietly change the brief, and the selection becomes a matter of novelty instead of project fit.
Verify your own results
When comparing services, retain the source, reference, instruction, and settings for each attempt. Inspect all the results rather than selecting only the most flattering example from one tool. This review has not conducted that controlled test. The recommendations are based on documented workflows and our interface, so they should guide a shortlist rather than be read as a measured quality ranking.
- Check the requested movement before considering unrelated visual improvements.
- Inspect hands near clothing, accessories, and nearby objects at a useful viewing size.
- Confirm whether any crop or background change was part of the request.
- Record the reason for another attempt so the next prompt addresses a specific issue.
Budget for the editing process you plan to use
5 credits per image
- Starter · 200 credits
- 40 images
- Creator · 650 credits
- 130 images
- Studio · 2,500 credits
- 500 images
Our confirmed 2K / Medium image setting uses five credits. Starter includes 200 credits for $9.90, Creator includes 650 for $29.90, and Studio includes 2,500 for $99.90. Those current one-time packs correspond to 40, 130, and 500 images at that setting. They do not guarantee that every generation will become a final image you choose to publish.
The pricing page explains the pack calculations. Every edit uses the original ratio, 2K resolution, and Medium quality, with no output controls to adjust. If your project involves several attempts, budget for that exploration separately from the theoretical per-image allowance. A single-image price and the total cost of reaching a satisfactory result are related, but they are not the same measurement.
For Dreamina, check the live tool’s current mode, allowance, and purchase terms. We have not verified a matching per-image price, so no price winner is declared. If you plan to use additional refinement operations, include those in the budget you compare. A headline offer for one operation should not be treated as the complete cost of a multi-stage creative session.
When our focused workspace makes sense
AI Pose Changer is worth considering as a Dreamina pose changer alternative when your main goal is to prepare a new pose for an existing photo. Its input choices are close together, a reference remains optional, and the source photo and instructions are easy to review before you submit. The same-browser draft also helps you continue through sign-in without rebuilding the prepared request from memory.
If the project is about inventing a new scene, making extensive changes, or exploring multiple creative operations, evaluate the broader environment around those needs. Our dedicated workflow is not presented as a substitute for every image-production tool. The right choice depends on how much of the original picture you want to keep and what work remains after the pose is changed.
You can explore our pose editor to inspect the controls and the library before choosing a purchase. Generation integration is present in the current build, but a real-account output and a paid cross-service benchmark were not verified in this review. Use the feature comparison to choose a workflow, then assess actual results against your own brief.
AI Pose Changer vs Dreamina: FAQ
Do I need two images in AI Pose Changer?
You need the original photo. A second pose-reference image is optional: you can write instructions instead or choose a built-in reference. The source and reference fields are separate so you can review their roles before submitting.
Is this a model benchmark?
No. AI Pose Changer vs Dreamina compares the editing workflows and documented input approaches. We did not run a controlled output test, and a website’s model labels alone do not establish image quality or identity preservation.
Can I request a pose without changing the scene?
You can state that goal clearly in the instructions. Keep the source setting as the reference and describe only the desired movement. Actual results still require inspection; this review does not promise that every background detail will remain identical.
What should I do if the reference does not fit my crop?
Decide which requirement takes priority. You might adapt the gesture to the existing crop or choose a different output shape. Explain that choice instead of asking for incompatible framing and body placement at the same time.
Sources and review scope
Official sources were reviewed on September 16, 2026. Our feature descriptions reflect the current editor; claims about generated quality need separate testing. Prices and availability may change. This is our editorial comparison, not an endorsement by Dreamina.
- Dreamina: official AI pose changer
- Dreamina: image-to-image creation and refinement
See how our editor works and our pricing details before deciding.