
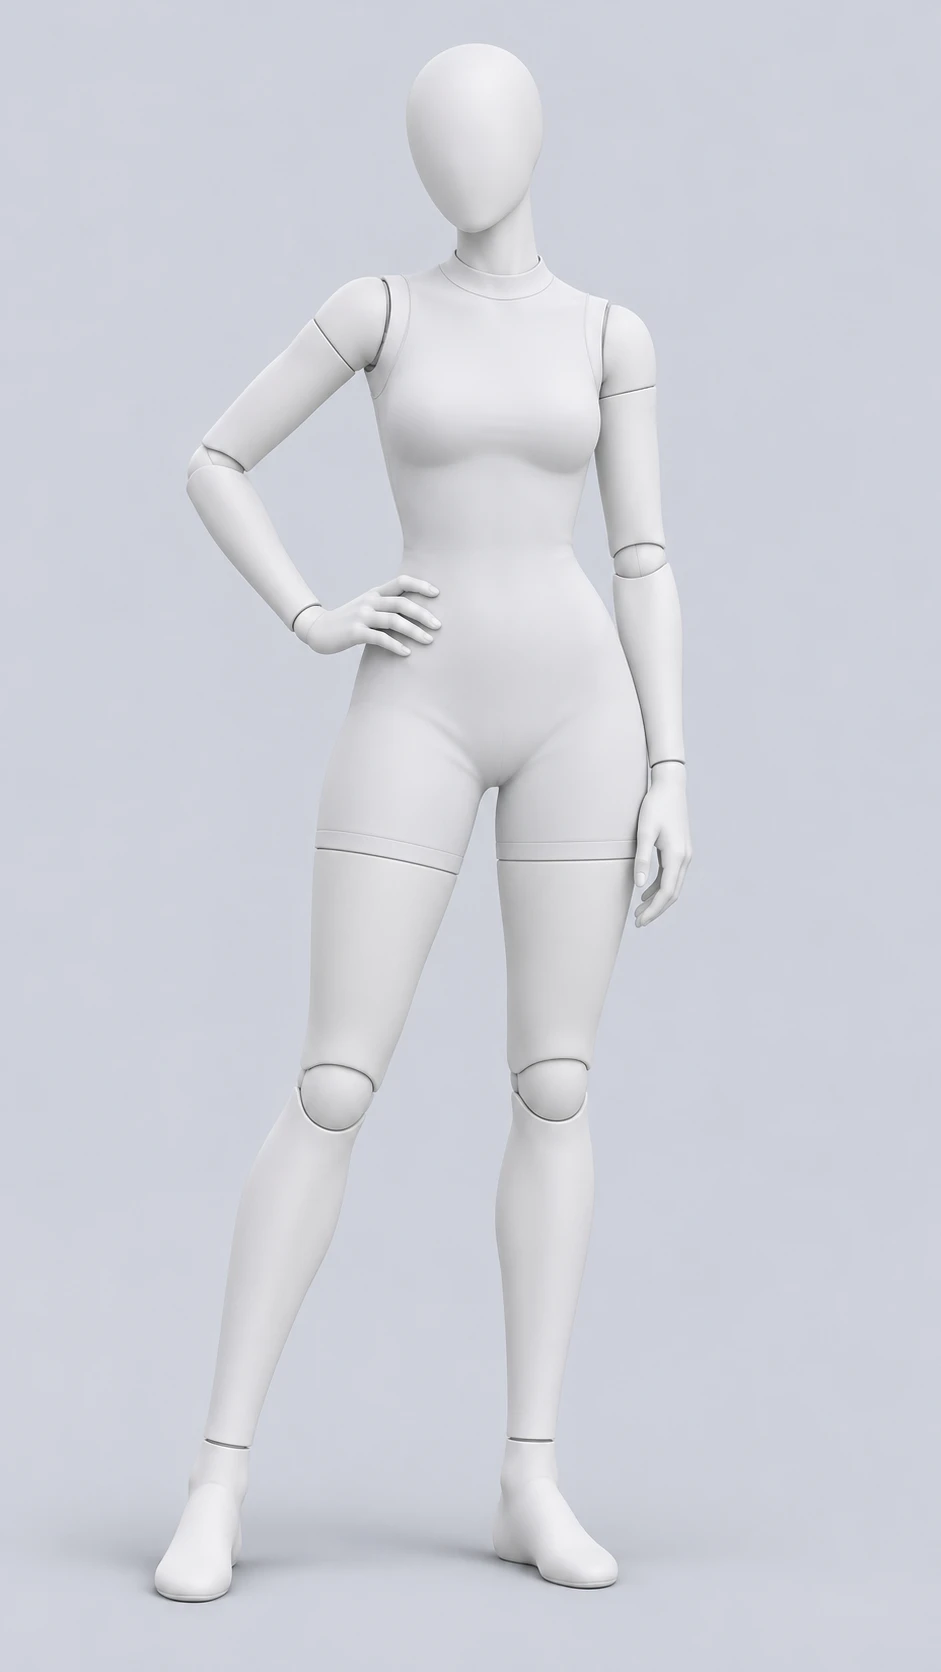
Hand on hip
One hand defines the waist while the other arm stays relaxed. Check that the bent elbow has room inside your crop.
Find a standing pose that fits the photo you have. Compare balance, shoulder direction and arm placement with these white mannequin guides.
Choose a guide below. Selecting it prepares your editor draft; generation starts only when you submit it.
One hand defines the waist while the other arm stays relaxed. Check that the bent elbow has room inside your crop.
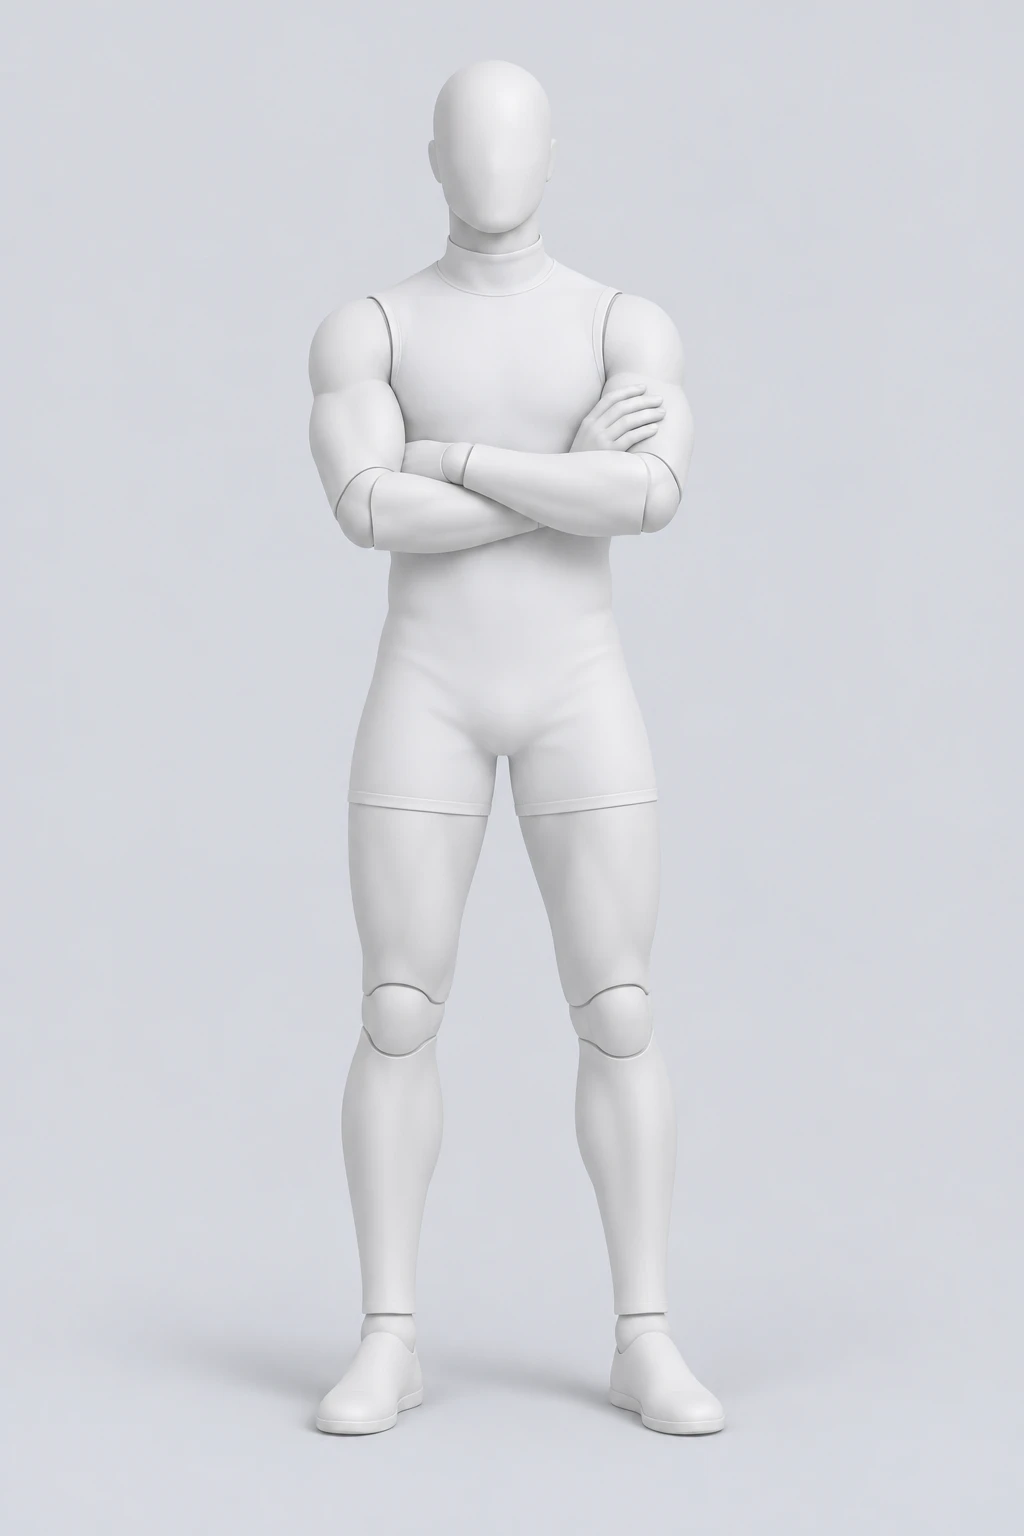
Both arms cross in front of the torso. Inspect the visible wrists and decide whether covering the shirt front fits your photo.
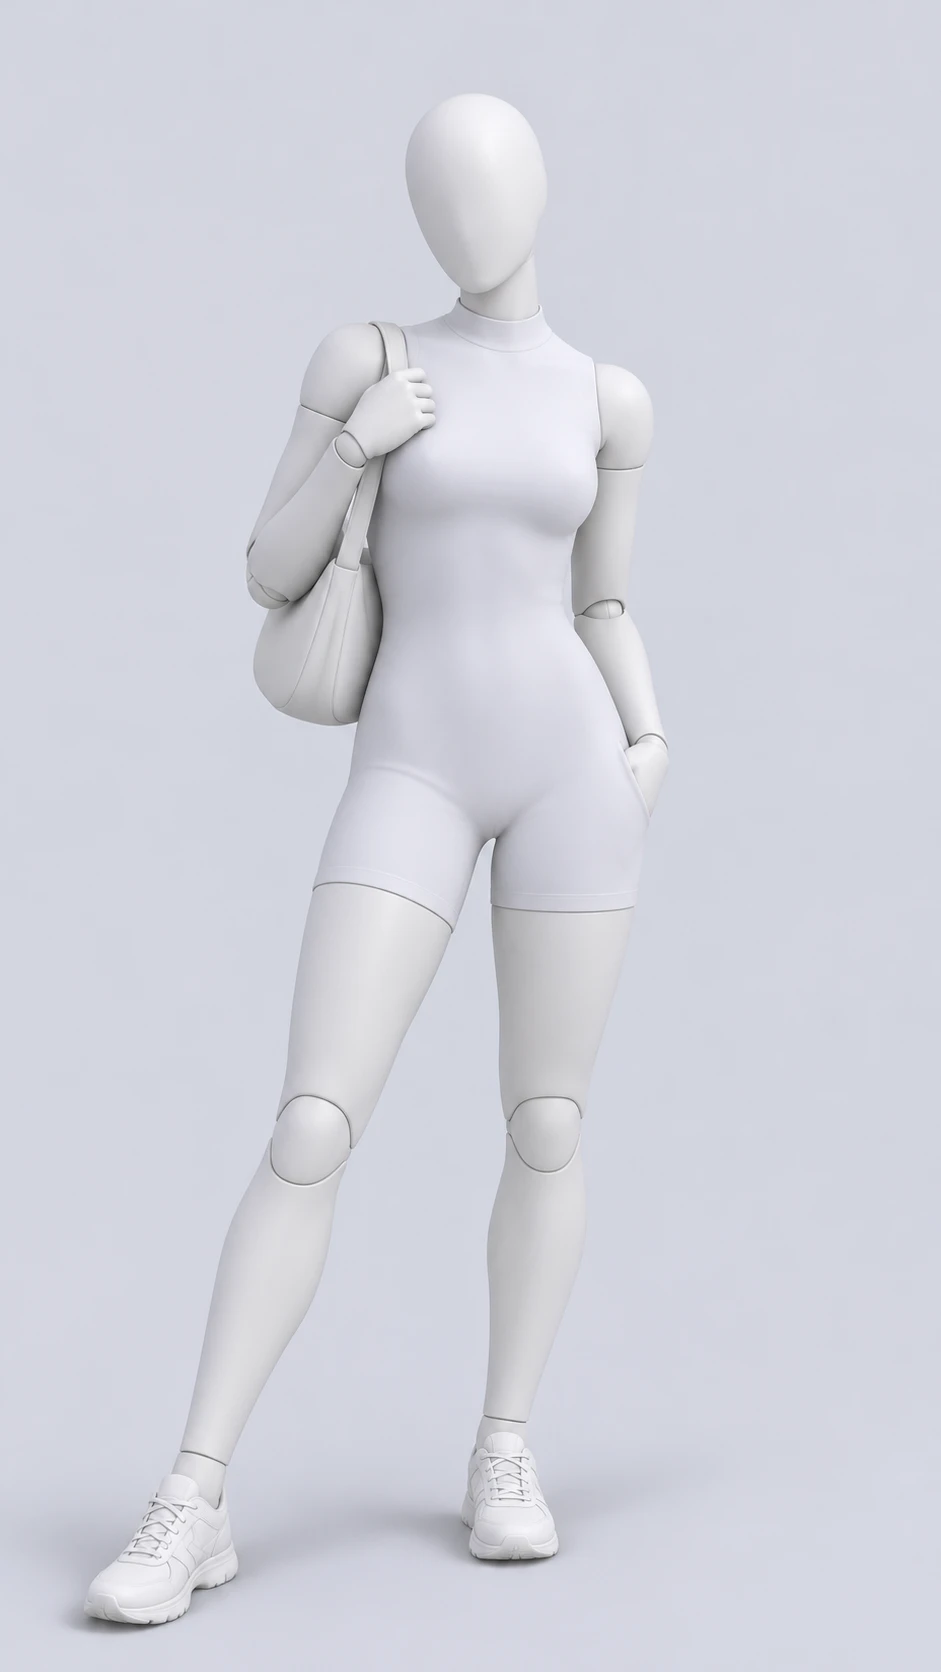
A relaxed stance is a useful starting point when you want a subtle weight shift rather than a large body turn.
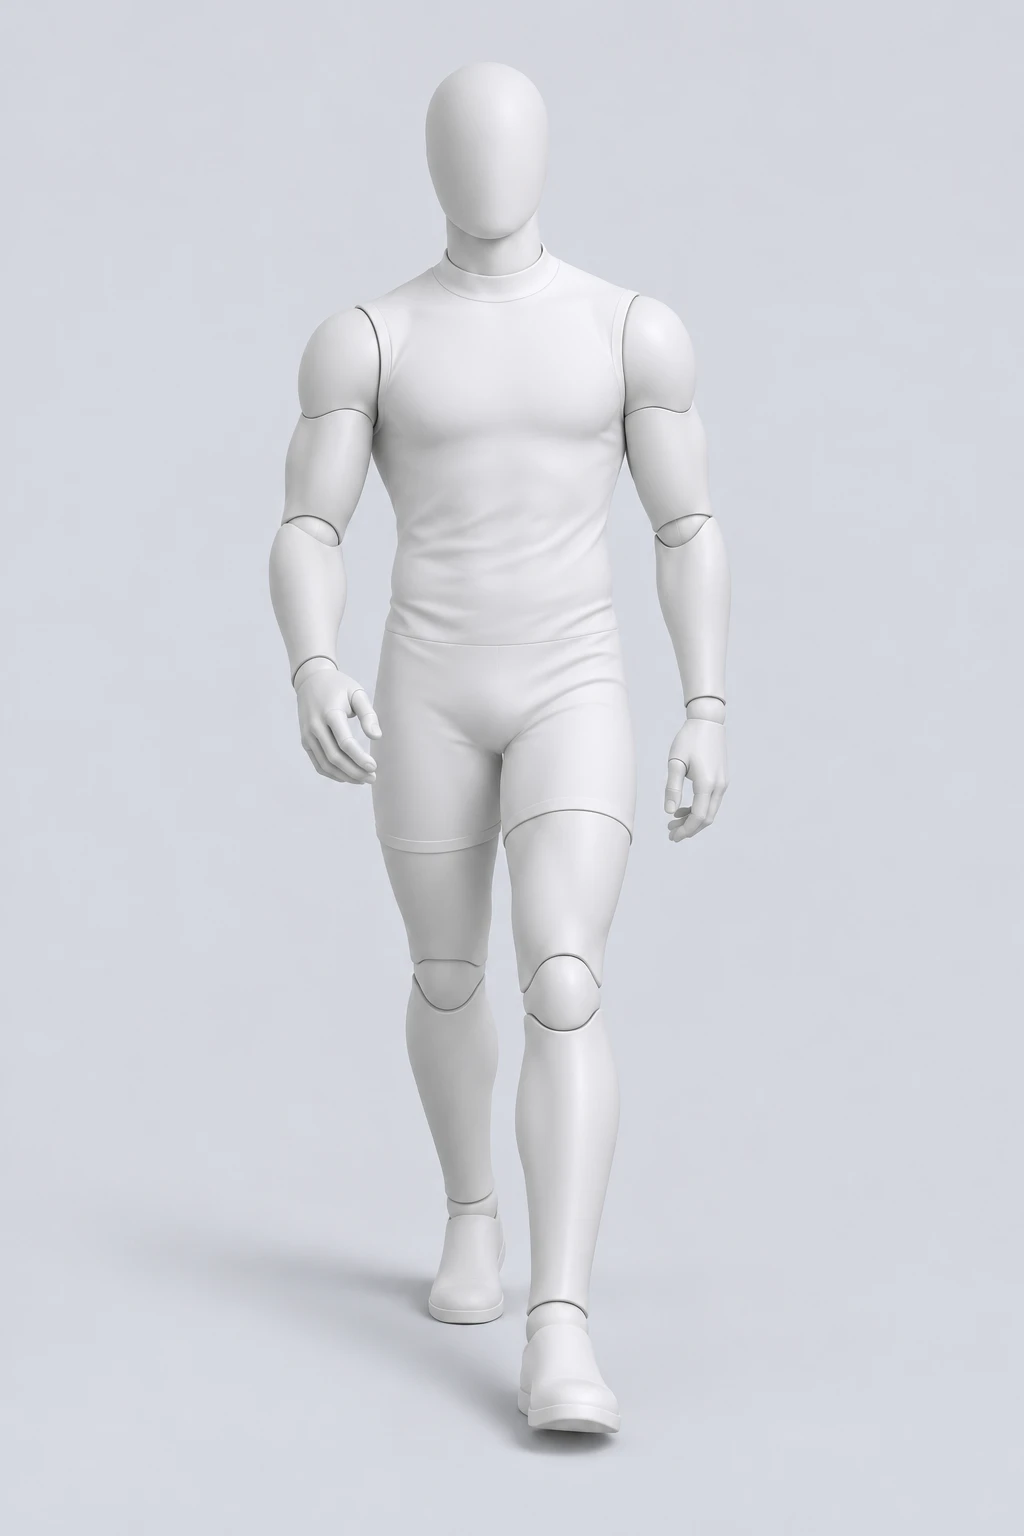
A forward step changes the leg relationship and arm swing. Choose a source that shows enough of the lower body.
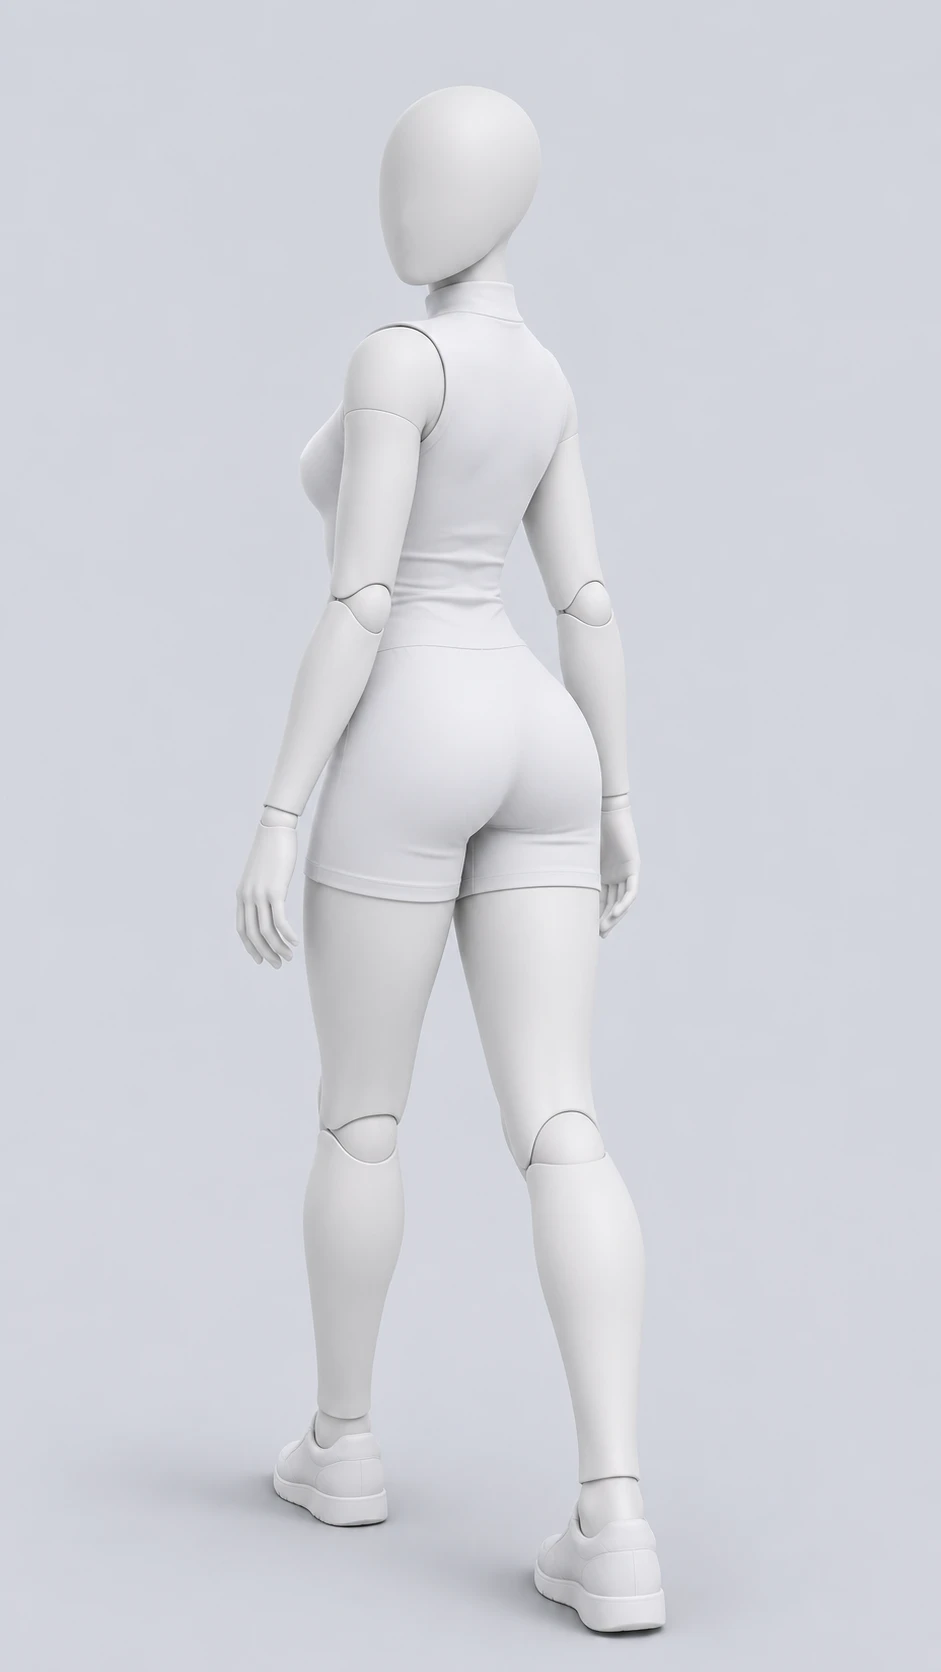
A shoulder glance rotates the torso and head by different amounts. Keep the intended face direction explicit.
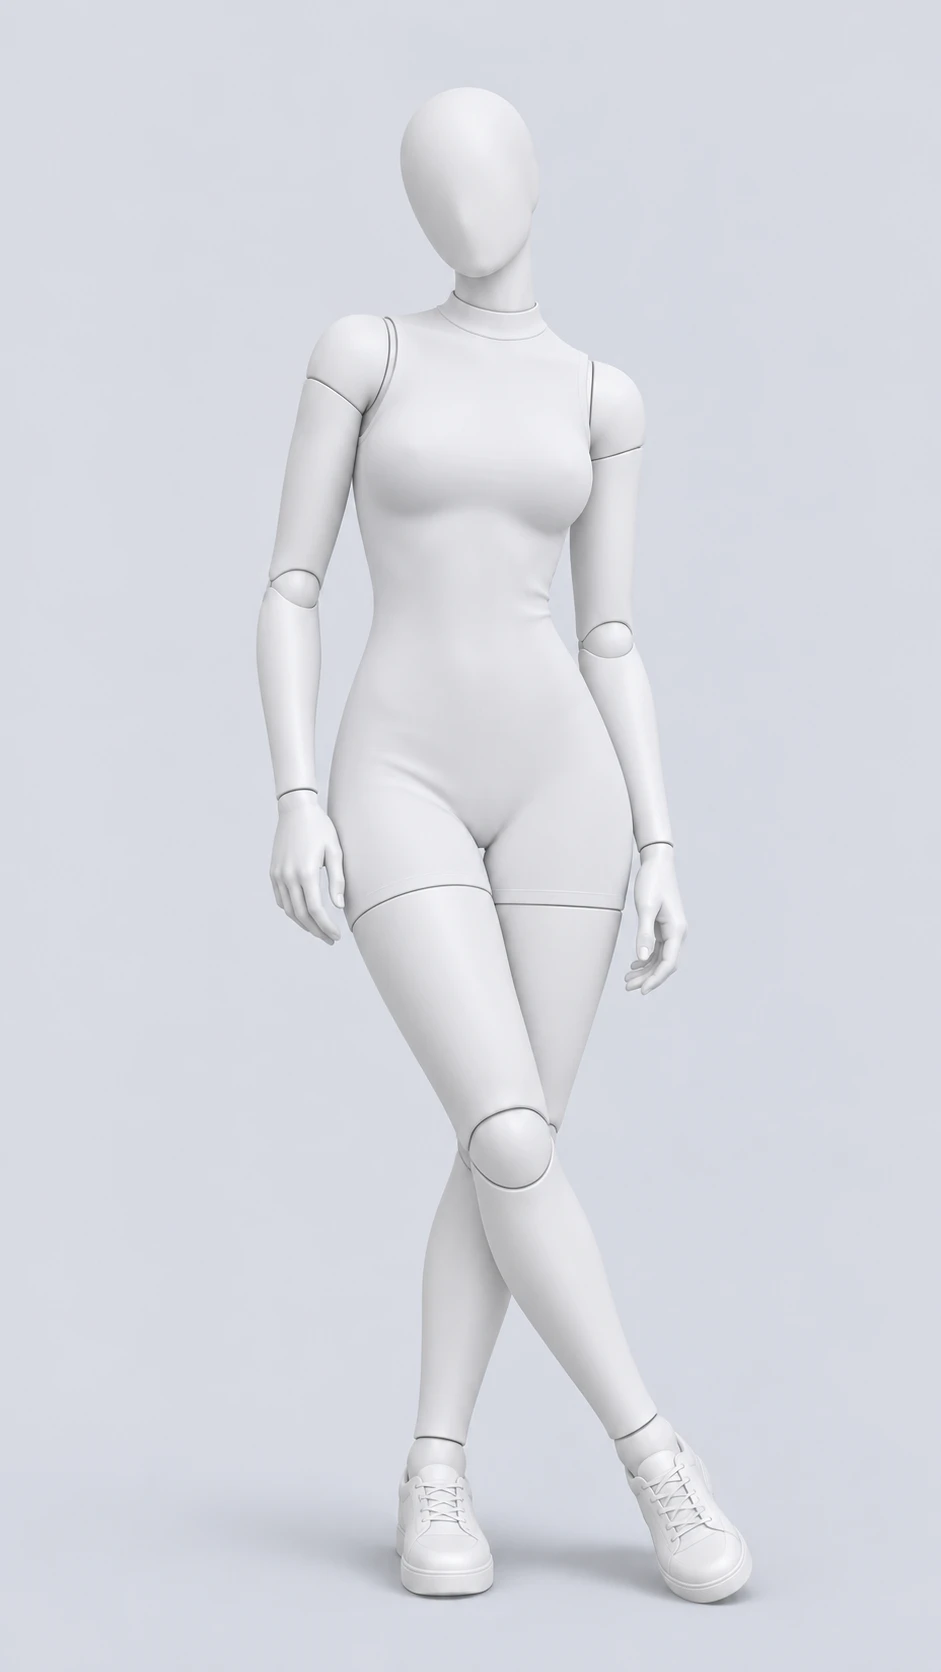
Crossed ankles narrow the stance. Look at which foot bears the weight instead of copying only the outline.
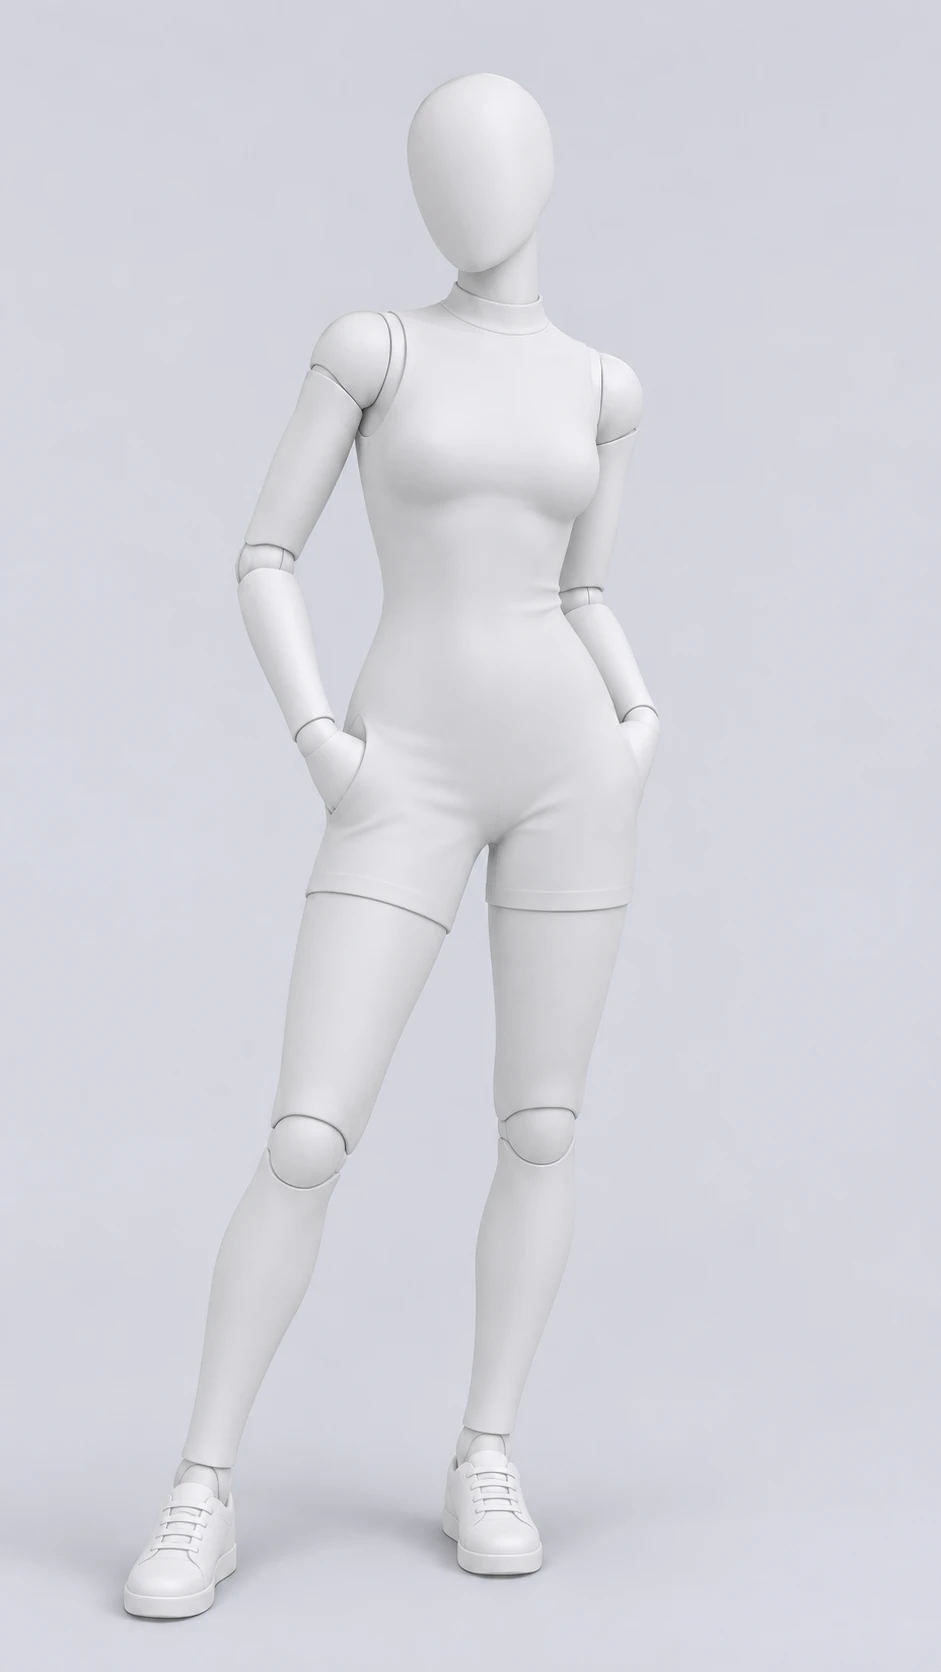
Hands in pockets depend on the clothing in the source. Check pocket location and whether the wrists remain visible.
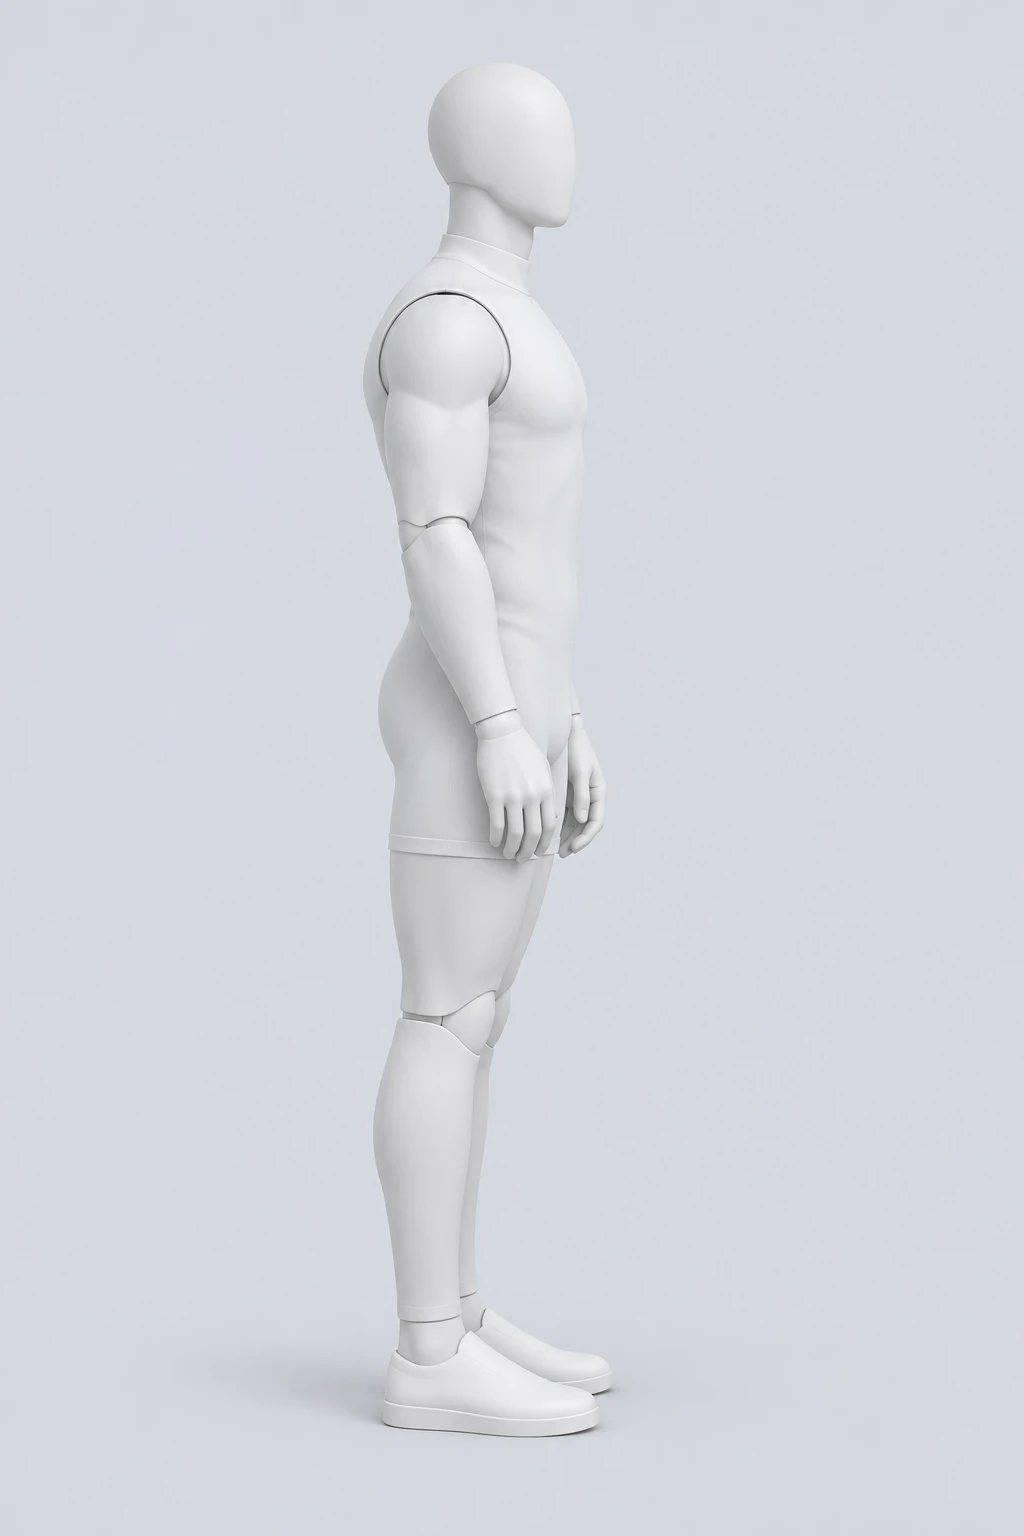
A side profile changes the visible silhouette. Compare the face angle and available space before using a full turn.
A standing pose reference is most useful when you can understand how the body carries its weight. Look at the feet before the hands. One leg may be relatively straight while the other bends, or the feet may share the load evenly. That foundation influences the angle of the pelvis and the slope of the shoulders. Copying an arm gesture without considering the stance can produce a body that looks disconnected.
For a small portrait adjustment, you may not need to change the legs at all. If your original already has a comfortable stance, borrow only the upper-body movement. A hand on the hip, a relaxed elbow or a slight shoulder turn can change the silhouette while keeping the request focused. Tell the editor which part of the reference matters instead of asking for a complete replacement pose.
These guides cover different directions, not a ranking from basic to best. A straight stance can suit a clothing photograph because the garment stays visible. A turn can suit a casual portrait because it introduces asymmetry. Walking may communicate movement, but it also asks the generator to resolve more relationships between limbs. Choose the arrangement that serves your picture rather than the one that looks most elaborate in isolation.
A full-body source gives you the most information about ground contact and leg position. It also gives you a way to check whether the generated stance is plausible. When the original stops above the knees, you can still request an upper-body adjustment, but the missing feet cannot tell you whether the complete standing pose is balanced. Keep your assessment within what the image actually shows.
Check empty space around both sides of the person. A bent elbow may extend farther than a relaxed arm, and a shoulder turn can shift the visible outline. An overhead movement needs space above the head. If the frame is already tight, choose a compact pose or use a wider original. Asking to preserve the exact crop and extend a limb beyond it gives the editor conflicting goals.
The camera height changes the apparent proportions of the same stance. A low viewpoint makes nearer legs or hands look larger; a high viewpoint emphasizes the upper body differently. Choose a reference close to the source perspective when possible. The multi-view collection in the pose reference library can help you compare another angle before choosing a guide.
Use a relaxed stance when the original feels too rigid but the overall composition works. Look for a small difference between the two knees and a modest change in shoulder height. The aim is a supported body with a readable rhythm, not an exaggerated bend. A prompt can ask for one knee to soften while the other leg remains the main support.
After generation, inspect the transition through the waist and hips. A natural-looking shoulder adjustment can still create an odd torso twist if the pelvis follows a different direction. Check the clothing seams and waistband as well as the body outline. They provide useful visual clues about whether the body and garment agree.
A hand-on-hip reference creates space between the arm and torso. It can make a waistline easier to see, but it can also cover a belt, pocket or garment detail. Decide where the hand should land and whether the elbow should point slightly outward or more strongly to the side. Those choices change the shape without requiring a new scene.
Check the hand contact closely. The palm and fingers should appear to rest against the body rather than hover nearby. Compare the wrist angle with the forearm and look for changes in sleeve length or fabric folds. If the original has an accessory on that side, mention it in your instruction and verify it afterward.
Crossed arms can give a portrait a more contained outline. They also create overlap, which makes wrists, fingers and sleeves more important to inspect. Choose a reference where you can tell which forearm sits in front. If the shirt or jacket front is the main subject of the image, consider whether the crossed arms hide too much of it.
Keep the shoulders relaxed unless a raised, tense posture is deliberate. The position of the elbows affects the apparent width of the torso, so compare that relationship with your original. A tightly folded arrangement and a loose fold communicate different things even when both are described as crossed arms.
A walking reference adds a step, a weight transfer and often an opposing arm swing. It is useful when the source already shows enough of the body and ground. Begin with a small, clear step rather than requesting a dramatic stride in a narrow crop. Specify whether the person moves toward the camera or across the frame.
Check the feet separately from the upper body. Look for plausible contact with the ground, a coherent leg direction and enough space between overlapping limbs. Also inspect bags or loose clothing that may move with the body. A convincing face alone does not establish that the walking arrangement works.
A useful prompt tells the editor what comes from each image. Your original supplies the person and clothing; the mannequin supplies the standing arrangement. Avoid describing the white surface as a desired appearance. If the original is photographic, explicitly ask to retain natural human skin and the existing outfit.
Use the standing reference for the bent arm and relaxed weight shift. Put one hand on the hip and leave the other arm down. Keep the original person, outfit and location. Use the white mannequin only for body position, not for its material or proportions.
Adapt the wording to what the reference actually shows. If you choose crossed arms, replace the hand-on-hip instruction rather than leaving both in the prompt. If you want the face to remain directed toward the camera, say so separately from the torso turn. Short, compatible instructions are easier to assess than a long list of competing poses.
For left and right, choose one convention. You can describe the hand on the left side of the image, or the subject’s right hand, but mixing those descriptions can create ambiguity. When exact side placement is important, check the output against the reference instead of assuming the model interpreted your convention as intended.
Review the generated picture at its intended viewing size first. Does the requested stance read clearly? Does the body appear supported? Then open the full image and inspect hands, elbows, knees and ankles. A thumbnail may hide a missing finger, an unusual wrist connection or a foot that no longer meets the ground.
Compare face, clothing and background with your original. A pose edit may change folds, small printed details or nearby edges. Decide which of those changes matters for your use. For a clothing photograph, garment details may be essential; for a casual portrait, the overall expression and stance may matter more. Make that decision deliberately instead of accepting every change because the pose improved.
If the movement is wrong, change one part of the brief before another attempt. If the movement is right but the pose feels too strong, reduce the turn or elbow angle. If the new stance needs space that the original lacks, switch to a more suitable source. The awkward-pose guide offers a separate checklist for diagnosing the original before editing.
No exact body match is required to describe a gesture, but proportions affect how the same arrangement looks. Treat the mannequin as a guide to joint relationships. Keep the person from your original, and judge whether the translated stance fits that person naturally.
Yes, when the intended change concerns shoulders or arms. Focus the instruction on the visible area. A waist-up result cannot demonstrate whether a full walking stride or foot position was reproduced, so do not use that crop to judge the lower-body part of the reference.
Choose a freestanding alternative if you need the scene to stay the same. A lean depends on support, and an absent wall changes the problem. If you intentionally want a new support surface, describe that scene change explicitly and inspect the contact in the result.
No. Selecting a reference prepares the draft. Generation is a separate action in the editor, where the current credit cost is shown. Keep the original and reference together when you test, so you can compare what the generated stance actually changed.
Choose your reference, review the original, and describe the movement.
Open the pose editor