
AI Pose Changer vs Dzine
Changing the stance in a personal photo and directing a character illustration are different jobs. Choose a pose workflow that starts where your project starts.
Choose the workflow that fits
Choose AI Pose Changer for…
Editing an existing photograph with a clear source, optional pose reference, and written movement request. The workspace keeps your photo at the center of the task and offers a built-in library when you need a starting pose.
Consider Dzine for…
Developing characters and creative images with pose guidance. Dzine’s documented Pose Control workflow combines a reference with a character or scene prompt, and its wider toolset includes a separate consistent-character feature.
This comparison is published by AI Pose Changer. It covers our current interface and the reviewed product documentation, not a controlled output-quality test. Real-account generation and payment have not been verified in this review.
The differences at a glance
Compare the same task and input requirements before choosing an editor.
| What matters | AI Pose Changer | Dzine |
|---|---|---|
| Task covered here | Change the pose in an existing photo | Guide a character’s pose during creation |
| Starting material | A source photograph is required | Pose reference plus creative instructions |
| Pose input | Text, your own reference, or 20 built-in guides | Reference image and prompt documented |
| Setup for the visitor | Browser editor; no local model setup | Browser workflow; no local model setup implied |
| Output format | Original ratio · 2K · Medium (fixed) | Check the selected Dzine tool and mode |
| Documentation | Current AI Pose Changer interface | Dzine Pose Control |
A photo edit and a character brief start differently
Edit an existing photograph
AI Pose Changer vs Dzine is a choice about the image you want to make, not simply a contest between two pose labels. With an existing personal photo, much of the brief is already visible: the person, outfit, setting, and lighting. You are asking for a change within that picture. With a character concept, the pose may be one condition within a larger request for a new scene or visual style.
Develop a character concept
Dzine’s official Pose Control page describes using a pose reference with a prompt for the character or scene. It places the option in a character-control workflow. That makes it relevant to this comparison, but does not mean the entire Dzine platform is limited to character generation or cannot edit photographs. We are comparing the documented task, not making a blanket claim about the brand.
Our editor starts with the photograph you want to change. The source remains visible while you choose the movement and review the instructions. This focus can be useful when you want the request to stay close to a picture you already know, rather than developing many aspects of a new composition at once. The difference is the structure of the work, not a verified ranking of visual quality.
Keep your source photo at the center
AI Pose Changer gives the original photo its own input area and treats the pose reference as optional. You can describe a new stance directly, upload a separate guide, or choose from 20 built-in references. This keeps the person you are editing separate from the body position you want to borrow. It is particularly helpful when the reference is visually very different from the source.
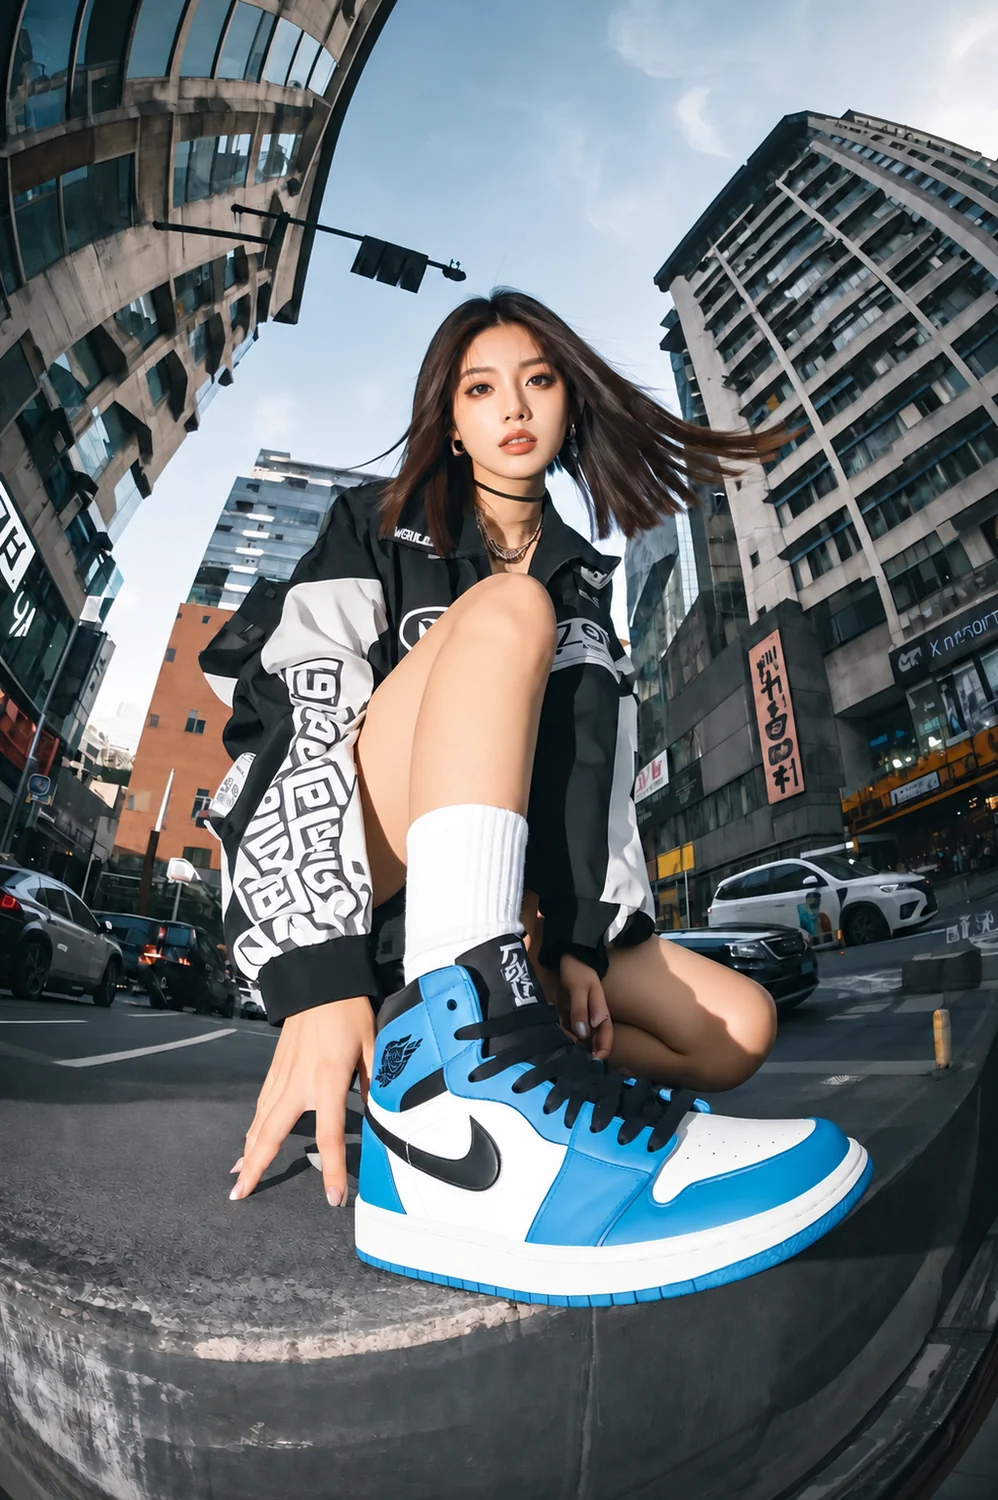
For a personal portrait, the reference may show a useful arm placement without matching the source clothing or background. Name that narrow role in the instructions. For example, ask for the torso angle from the guide while keeping the source person and outfit. The interface helps organize those inputs; the output still needs review to confirm whether the intended distinctions were followed.
If you do not have a pose image, the library provides a convenient starting point without a separate search outside the editor. You can also omit a reference entirely for a straightforward movement. The point is flexibility within one focused task. We do not claim that our library is larger than every alternative, or that visual references are exclusive to this site.
When the character itself is part of the brief
A character project can require decisions beyond body position: silhouette, costume, expression, environment, and rendering style may all need to work together. If those elements are still open, it makes sense to evaluate tools designed around a wider character-creation process. A pose guide then becomes one part of the composition rather than the only detail being changed in an existing photograph.
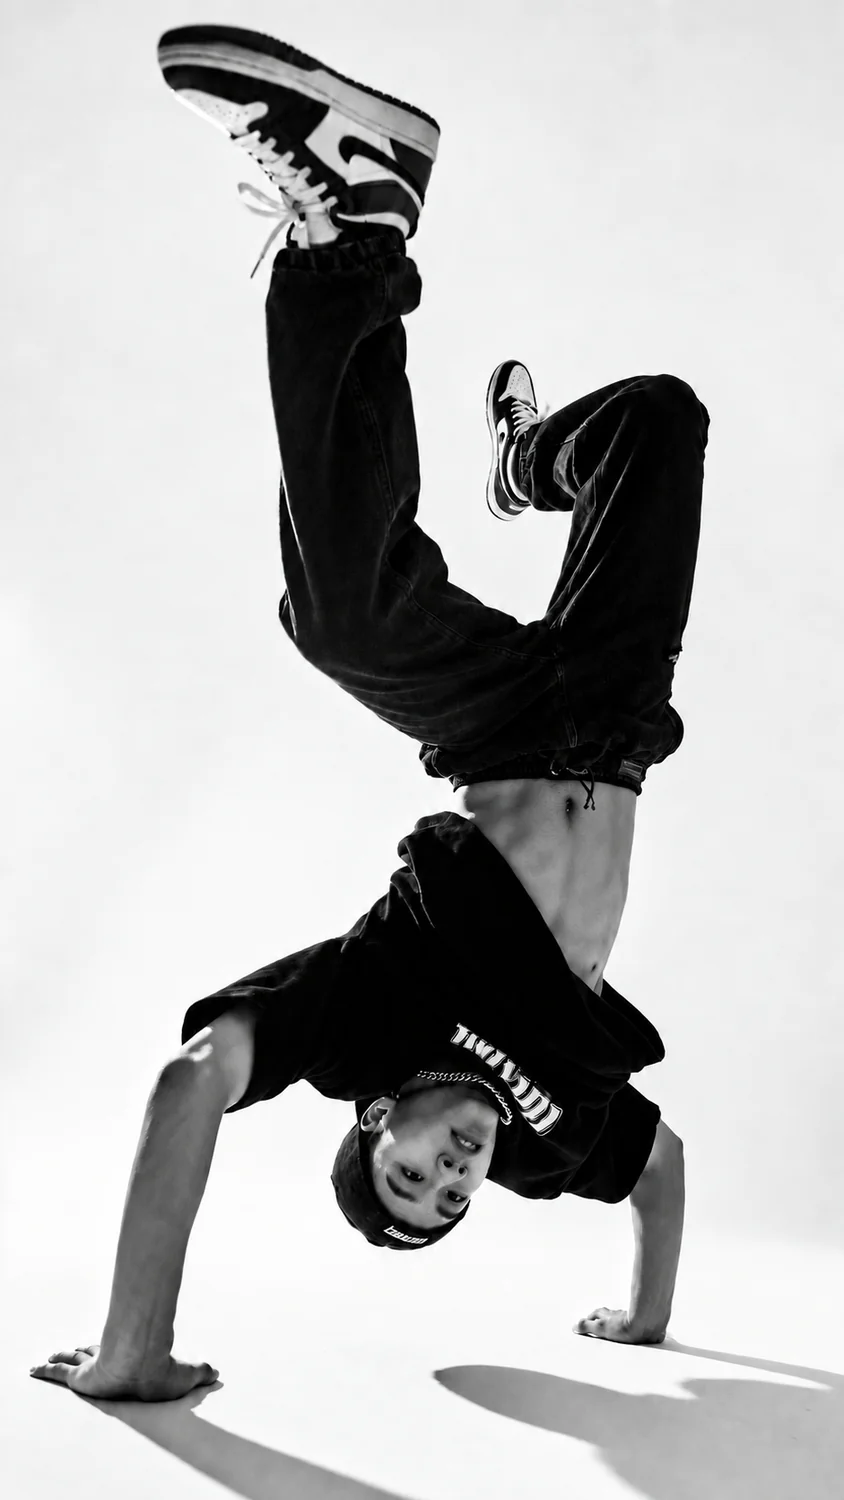
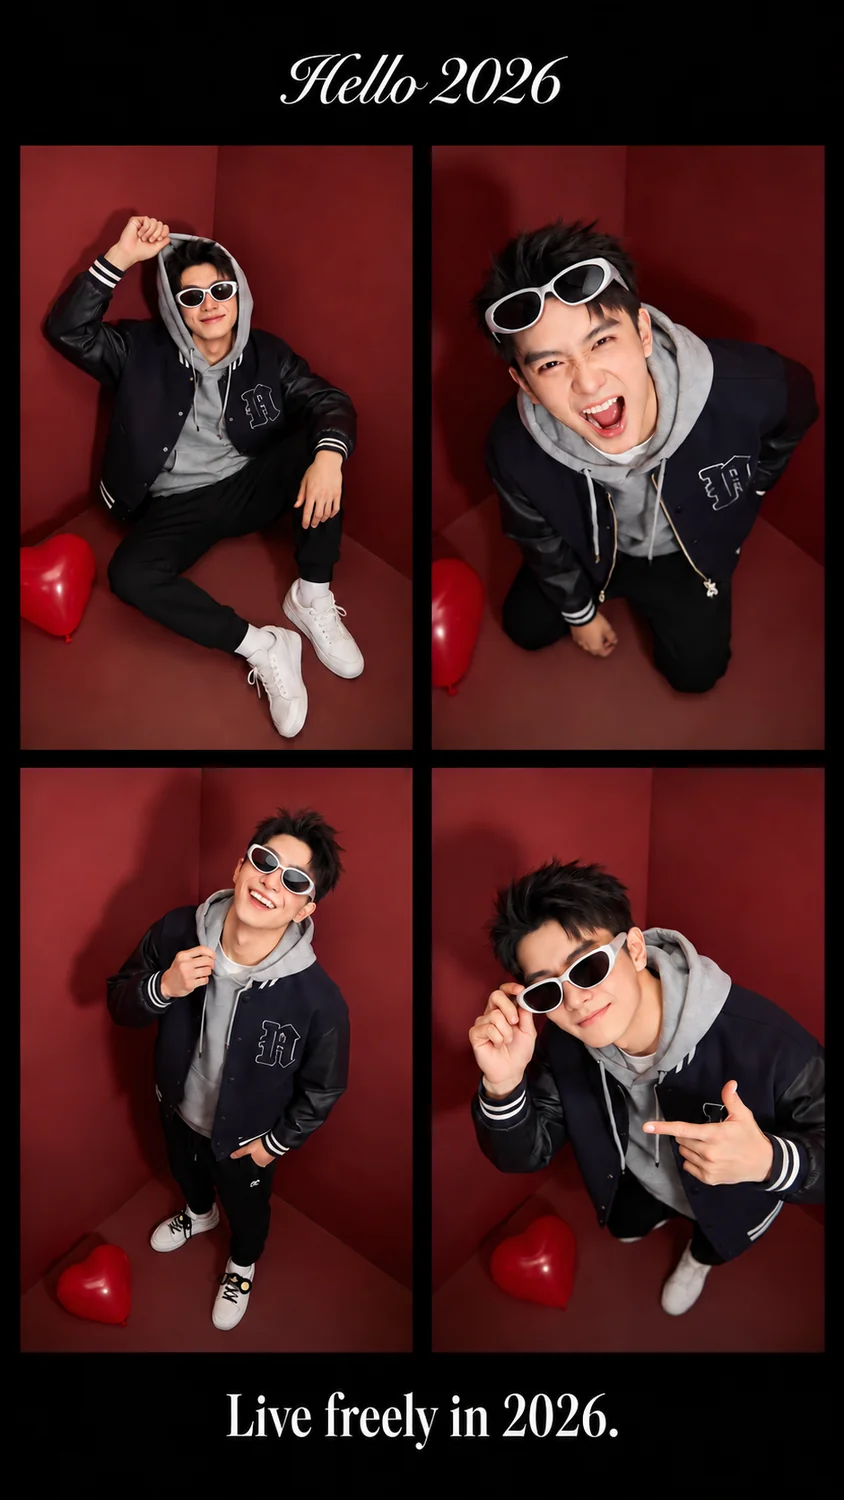
Dzine also documents a consistent-character tool for projects involving a recurring character. We treat that as a separate feature to investigate, not proof of perfect consistency across every output or an automatic inclusion in every pose-control mode. Check the current interface and terms for the particular combination you intend to use.
For a series of illustrations, define what makes the character recognizable before generating poses. You might care about the shape of the coat, a particular accessory, or the relationship between hair and facial features. Put those requirements into a short review list. Otherwise, a sequence can contain individually attractive images that no longer look like one coherent character project.
Separate body direction from visual style
- Describe the body position
- Keep visual style separate
- Evaluate each requirement
A pose reference is easiest to use when you can describe what you are taking from it. Body direction might mean the angle of the torso, the position of the arms, or the distribution of weight. Visual style might mean linework, color, texture, or lighting. A reference can contain both, but your intended edit may need only one. State the distinction rather than expecting the tool to guess.
This matters when a photographic source is paired with an illustration or a studio guide. Decide whether the reference should influence only the movement or also the appearance of the result. In our photo-first workflow, a narrow pose instruction can keep the request centered on the original image. It is a way to prepare the brief, not a guarantee that every detail outside the pose will remain untouched.
For a broader character request, the same distinction can help you evaluate the result. Check pose fidelity separately from style fit. If a result captures the desired rendering but misses the gesture, identify the gesture in the next instruction. If it captures the gesture but changes a defining costume detail, identify that detail instead. Specific feedback is easier to act on than a complete rewrite with competing goals.
Choose around the image you will actually use
Imagine two different projects. In the first, you have a full-body photograph for a personal profile and want one hand to rest on the hip. The clothing and setting already belong to the person. A dedicated source-photo editor gives that task a direct starting point: upload the image, specify the movement, and review the pose instructions. Our workspace is organized for this kind of preparation.
Use the reference for the hand-on-hip position and slight torso turn. Keep the person, clothing, and setting from my photo. Keep the other arm relaxed and preserve the original full-body framing.
In the second, you are planning an illustrated character standing confidently in a new scene. The pose is important, but so are the costume, background, and rendering choices. The brief is larger than changing one photographic gesture. A character-oriented environment may be a more useful place to evaluate those creative decisions together. That is a selection principle, not a claim that only one product can attempt the task.
This sample belongs to the first scenario. It keeps the change narrow and gives the reference a defined purpose. It is an original instruction example, not the caption of a generated benchmark. If you want to follow the actual interface rather than compare approaches, see how to use AI Pose Changer.
Prepare the source for its destination
Our editor preserves the original image ratio and uses 2K resolution with Medium quality for every generation. The cost is five credits per image, with no output menus to configure. Choose your photo and pose direction, then review the instructions before submitting. If your destination needs a different crop, prepare the source first or crop the completed result separately while checking that the important gesture remains visible.
Think about where the image will appear before preparing your source photo. A pose that reads well in a tall frame may lose its meaning when cropped into a small square. If a hand gesture is the main change, keep that hand visible in the intended composition. More pixels do not resolve a framing decision that removes the important part of the request.
You do not need to configure a local model environment to use our browser interface. That is a difference from assembling a custom model workflow, not a unique advantage over Dzine’s web product. Our comparison overview separates browser tools from model options such as ControlNet so that these categories are not confused. Compare the user experience at the same level.
Review continuity with a short checklist
Keep the subject recognizable
Whether your project is a photo or a character image, decide what continuity means for the task. A personal portrait may need recognizable identity and the same outfit. A character concept may need a consistent silhouette and accessories. These criteria are related, but they are not interchangeable. Define the ones that affect whether you can use the final image.
Check the relationships
Review the requested gesture first, then the source details you care about. Inspect the contact points where hands meet clothing or objects, and check whether the stance fits the scene. For a character series, compare multiple images together rather than evaluating each one in isolation. A small detail can feel acceptable once but become distracting when it changes from image to image.
Review against your actual task
No controlled comparison of that kind was performed for this page. Our recommendations come from the current interface and official product documentation. The generation integration exists in our build, but this review did not verify a real-account result or spend credits on competing tools. Use the checklist to plan a fair evaluation rather than reading the comparison as a measured performance score.
- Movement: does the body position communicate the intended action or mood?
- Identity: are the person or defining character features still recognizable?
- Details: do the outfit, accessories, and nearby objects still make sense?
- Destination: does the pose remain readable at the crop and size you will publish?
Match the budget to the real task
5 credits per image
- Starter · 200 credits
- 40 images
- Creator · 650 credits
- 130 images
- Studio · 2,500 credits
- 500 images
At our confirmed 2K / Medium setting, an image costs five credits. The current one-time Starter, Creator, and Studio packs provide 200, 650, and 2,500 credits for $9.90, $29.90, and $99.90. That gives theoretical allowances of 40, 130, and 500 images at the specified setting. Read our pricing page for the assumptions and current purchase details.
For Dzine, verify the current allowance for the particular pose-control or character tool you plan to use. A general trial statement does not establish the cost of every feature combination. We have not confirmed an equivalent per-image price for this review, so we do not declare our service cheaper. Include any additional attempts or follow-up operations in your own project budget.
As a Dzine pose control alternative, AI Pose Changer is most relevant when you want to work from an existing photograph and keep the preparation focused on a new stance. If character development is the larger job, consider the tools that support that wider process. You can inspect our editor and its input options before deciding which workflow deserves a small real-world evaluation.
AI Pose Changer vs Dzine: FAQ
Does this mean Dzine cannot edit photographs?
No. This page compares our dedicated photo-pose workflow with Dzine’s documented character pose-control feature. It does not claim that the wider Dzine platform is restricted to illustrations or unable to handle other image-editing tasks.
Do I need to build a skeleton or install a model?
Our editor uses photo inputs and written instructions in a browser. You do not need to install a local model or manually construct a skeleton. Do not mistake that convenience for an exclusive advantage over another browser-based creative product.
Which workflow is better for my personal photo?
Explore our source-photo workspace if the person, outfit, and setting are already defined and you mainly want a new stance. The AI Pose Changer vs Dzine decision should follow your task and your own result review, not a presumed universal quality ranking.
Are the built-in poses generated-result examples?
They are selectable reference images used to guide body position. They do not demonstrate the result of your source photo, and they are not evidence of a head-to-head output test. Review the actual generated image before using it.
Sources and review scope
Official sources were reviewed on September 16, 2026. Our feature descriptions reflect the current editor; claims about generated quality need separate testing. Prices and availability may change. This is our editorial comparison, not an endorsement by Dzine.
- Dzine: official character pose-control workflow
- Dzine: consistent-character feature
See how our editor works and our pricing details before deciding.